
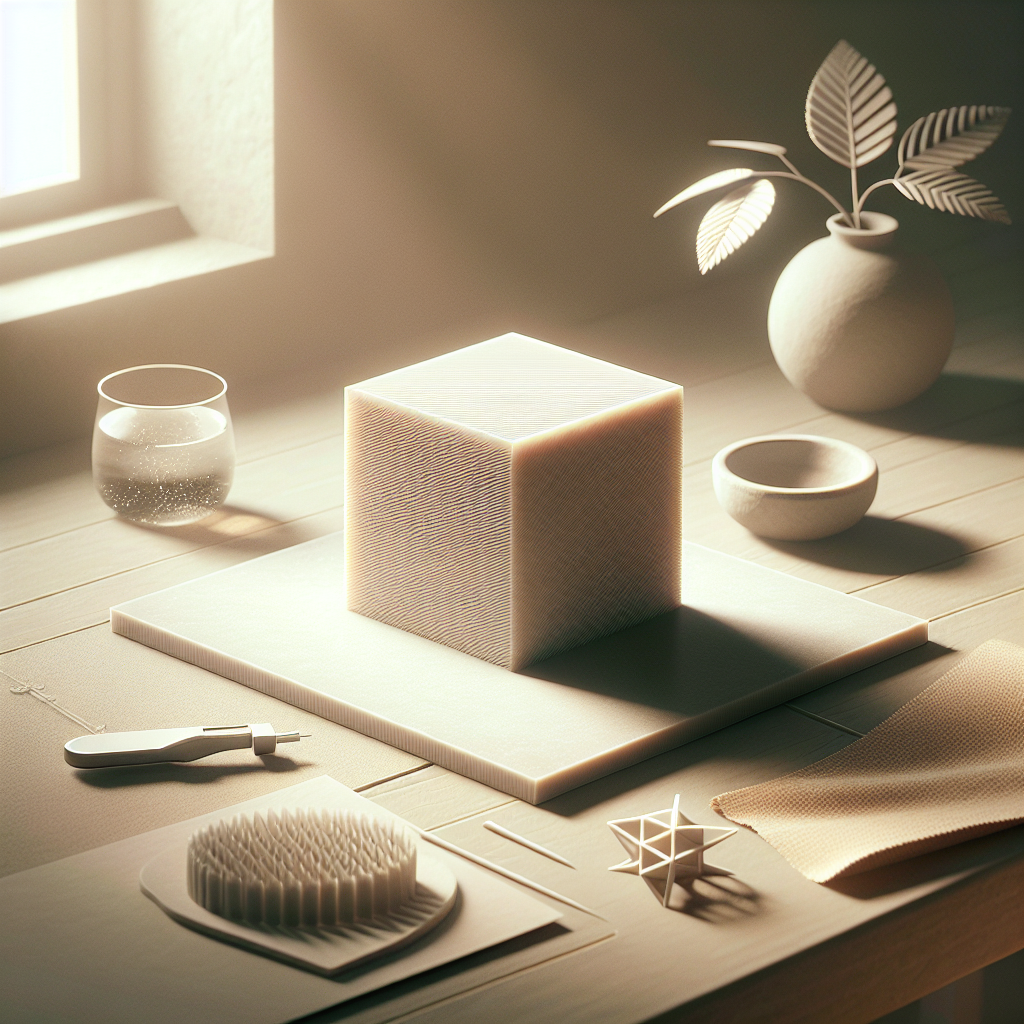
Understanding the Basics of 3D Print Surface Quality
Achieving a glass-smooth finish on your 3D prints is the holy grail for many makers, hobbyists, and professionals alike. Whether you’re prepping a prototype for presentation, creating a beautiful display piece, or just want to push your printing skills to the next level, smoothing your prints can make all the difference. From years of hands-on experience, I’ve learned that success is all about the right combination of design, material choice, printer settings, and post-processing.
Choose the Right Filament
Your journey to a glass-smooth finish begins with the material you use. Not all filaments are created equal when it comes to smoothing. Here’s a quick rundown:
- PLA: Easy to print, but more challenging to smooth chemically. Best suited for sanding and priming.
- ABS: Responds well to chemical smoothing, especially with acetone vapor, but requires good ventilation.
- PETG: Can be sanded, but is a bit trickier due to its flexibility.
- Resin Prints: Naturally smoother, can be sanded and polished to a glass-like finish.
Optimize Your Printer Settings
Start with the best possible print quality:
- Lower Layer Height: Use 0.1 mm layers or finer for less pronounced layer lines.
- Slow Down: A slower print speed reduces vibrations and inconsistencies.
- Increase Perimeters: More outer walls give you more material to sand away without exposing infill.
- Use a Smaller Nozzle: If possible, use a 0.2 or 0.3 mm nozzle for finer details.
These steps won’t eliminate post-processing, but they’ll give you a smoother starting point and reduce the amount of sanding and filling needed.
Sanding: The Foundation of Smoothness
Patience is key! Here’s a proven sanding workflow:
- Start Coarse: Begin with 120- or 220-grit sandpaper. Sand in small circles, focusing on removing layer lines.
- Wet Sanding: As you move to finer grits (400, 800, 1000, even 2000), wet sanding can help reduce dust and clogging, especially for PLA and resin prints.
- Use Sandable Primer: A few coats of filler or sandable primer fill tiny gaps and make sanding easier. Spray in thin layers and let dry fully before sanding again.
- Finish Smooth: For a truly glass-like finish, move up to 3000-grit or even polish with a fine abrasive paste.
Chemical Smoothing Techniques
For certain filaments, chemical smoothing is a game-changer:
- Acetone Vapor (ABS Only): Place your print in a sealed chamber with acetone vapor for 5–20 minutes. The acetone melts the surface slightly, fusing layers into a shiny, glassy finish. Always use acetone in a well-ventilated area and away from sparks or flames!
- Resin Smoothing: For SLA or DLP prints, a thin brush-on coat of UV resin, cured with a UV lamp, can create a flawless surface. Sand between coats for best results.
Note: PLA and PETG don’t smooth easily with solvents, so stick with sanding and priming for those.
Polishing for the Perfect Shine
Once you’ve sanded and/or chemically smoothed, bring out the shine:
- Plastic Polish: Use a plastic polish or automotive rubbing compound with a soft cloth to buff your print.
- Microfiber Buffing: Buffing wheels on a Dremel or rotary tool can add a mirror-like sheen, especially on resin prints.
- Clear Coats: A final spray of acrylic or polyurethane clear coat protects the finish and adds an extra gloss.
Common Pitfalls and Pro Tips
- Don’t Rush: Allow each layer of primer or resin to dry fully. Haste leads to fingerprints, drips, and dull spots.
- Test First: Always test smoothing techniques on a scrap or failed print before committing to your masterpiece.
- Wear Protection: Use gloves, goggles, and a mask—especially when sanding or using chemicals.
- Consider Your Use Case: Display models can be smoothed aggressively, while functional parts may lose tolerance with excessive sanding or chemical exposure.
Final Thoughts
Smoothing 3D prints to a glass-like finish is a rewarding mix of technology and craftsmanship. With the right prep, patience, and a few tricks up your sleeve, you’ll consistently achieve stunning results that can rival injection-molded parts. Remember: every print is a learning opportunity—experiment, refine your process, and soon, you’ll have your own set of go-to tools and techniques for that perfect, glassy sheen. Happy printing!
Leave a Reply