
Introduction to 3D Printed Cosplay Armor and Props
3D printing has revolutionized the cosplay community, making it easier than ever to create stunning, custom armor and props. Gone are the days of laborious foam crafting or resin casting—now, with a bit of design skill and a trusty 3D printer, anyone can bring their favorite characters to life with screen-accurate costumes and accessories.
Gathering Inspiration and References
A successful cosplay project starts with research. Gather as many reference images as possible from official art, screenshots, cosplayers, or 3D model repositories. Pay attention to details like weathering, color schemes, and scale. The more visuals you have, the more accurate your final piece will be.
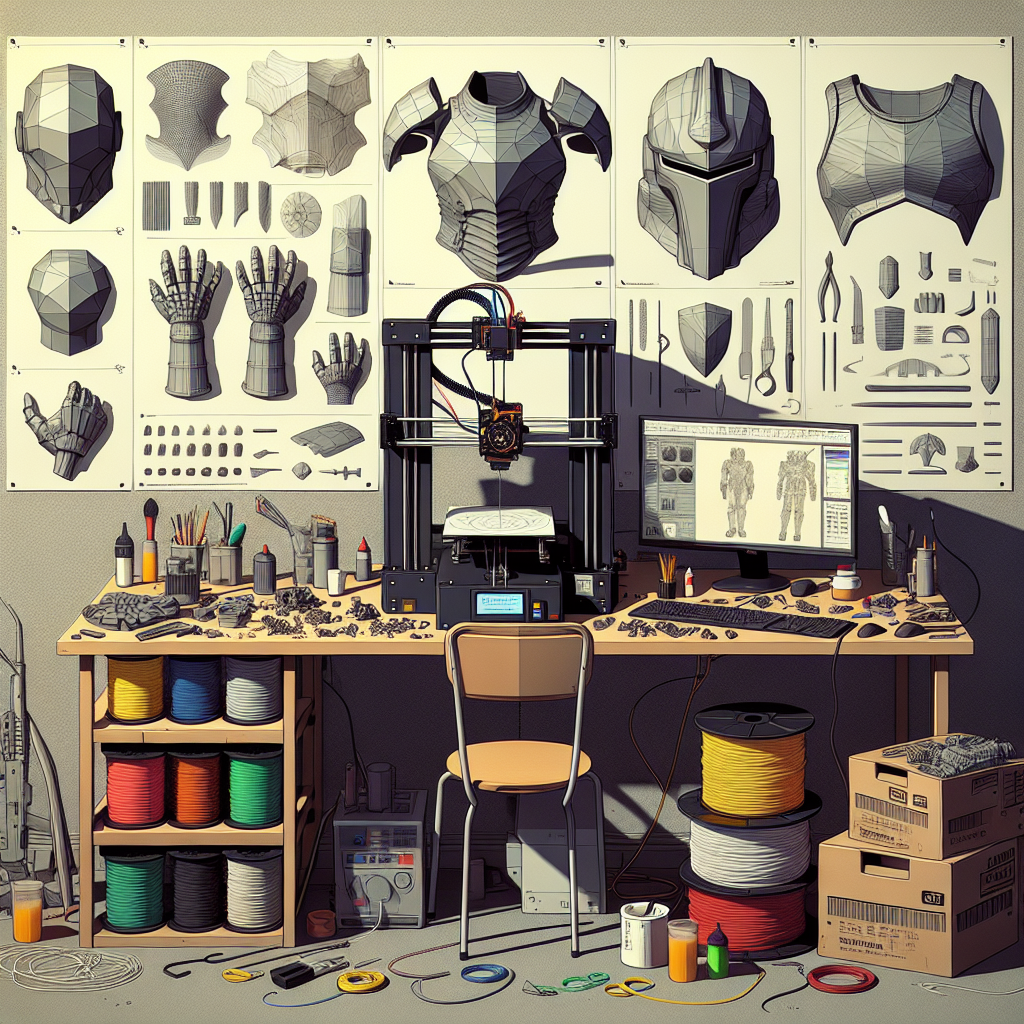
Designing Your 3D Model
If you have 3D modeling experience, software like Blender, Fusion 360, or Tinkercad can help you create your own custom models. There are also communities like Thingiverse, MyMiniFactory, and Cults3D where you might find ready-to-print models or inspiration for your armor and props.
When designing, consider the following:
- Scale and Fit: Use body measurements or 3D scans for custom fitting. Software like Armorsmith can help you visualize how pieces fit together on your body.
- Segmenting: Large armor parts often need to be split into smaller sections for printing and assembly.
- Printability: Check for overhangs, thin walls, and details that may not translate well in plastic.
Preparing Files for Printing
Before printing, slice your model using software like Cura, PrusaSlicer, or Simplify3D. Key slicing tips:
- Layer Height: Choose a smaller layer height (0.1-0.2mm) for smoother surfaces, especially on visible parts.
- Infill: 10-20% infill is usually sufficient for props; increase for functional parts.
- Supports: Enable supports for overhangs, but optimize support placement to minimize cleanup.
- Orientation: Orient models to reduce support usage and maximize strength, especially for wearable parts.
Selecting the Right Filament
PLA is the most common and easy-to-use filament, perfect for most cosplay props. For more durable or flexible pieces, consider PETG, ABS, or TPU. Each filament has unique properties:
- PLA: Rigid, easy to print, minimal warping.
- PETG: Tough, semi-flexible, resistant to impact.
- ABS: High durability, requires heated bed and enclosure.
- TPU: Flexible, ideal for straps, soft armor, or comfortable wear.
Printing Your Armor and Props
Double-check your printer’s bed leveling, nozzle, and filament quality before starting. Large prints can take dozens of hours, so monitor the first layers closely to ensure good adhesion. Print in sections as needed, especially for helmets, gauntlets, or chest pieces, then assemble after printing.
Post-Processing: Assembly, Sanding, and Painting
- Assembly: Use super glue, epoxy, or plastic welding to join parts. Reinforce stress points with additional internal supports if needed.
- Sanding: Begin with 100-150 grit sandpaper to remove layer lines, then progress to finer grits (up to 400 or 600) for a smooth finish. Fill gaps or seams with putty or filler primer.
- Priming and Painting: Apply several coats of spray primer, sanding in between. Use acrylic paints for base colors and weathering. Finish with clear coats for durability.
- Straps and Padding: Use Velcro, elastic, or foam padding for comfort and secure attachment to your body.
Tips for Success
- Test Fit Early: Print test pieces or small sections to check scale and fit before committing to full prints.
- Batch Printing: Organize your print queue to maximize printer uptime and efficiency.
- Patience is Key: Large armor sets can take weeks of printing, assembly, and finishing. Plan ahead, especially for convention deadlines.
- Join the Community: Online cosplay forums and social media groups are great for troubleshooting, sharing progress, and drawing inspiration.
Conclusion
3D printing opens up endless possibilities for custom cosplay armor and props, empowering creators of all skill levels to achieve professional results. With careful planning, attention to detail, and a bit of creativity, your next costume can truly stand out from the crowd. Happy printing!
Leave a Reply