
Understanding Conductive Filament
Conductive filament is a specialized material used in 3D printing that integrates conductive additives (like carbon, graphene, or metal particles) into a standard thermoplastic matrix, most commonly PLA or ABS. This unique blend enables the printed objects to carry electrical currents, making it possible to fabricate basic electronic circuits, touch sensors, and connectivity tracks directly into your DIY projects.
Choosing the Right Conductive Filament
There are several brands and types of conductive filament on the market, each with its own properties, such as resistance per centimeter, flexibility, and base polymer. For most DIY electronics, conductive PLA is the preferred choice due to its ease of use and compatibility with most desktop 3D printers. Popular brands include Proto-Pasta, BlackMagic3D, and Graphene 3D Lab. Always check the manufacturer’s specifications for resistivity, as this will impact your circuit’s performance.
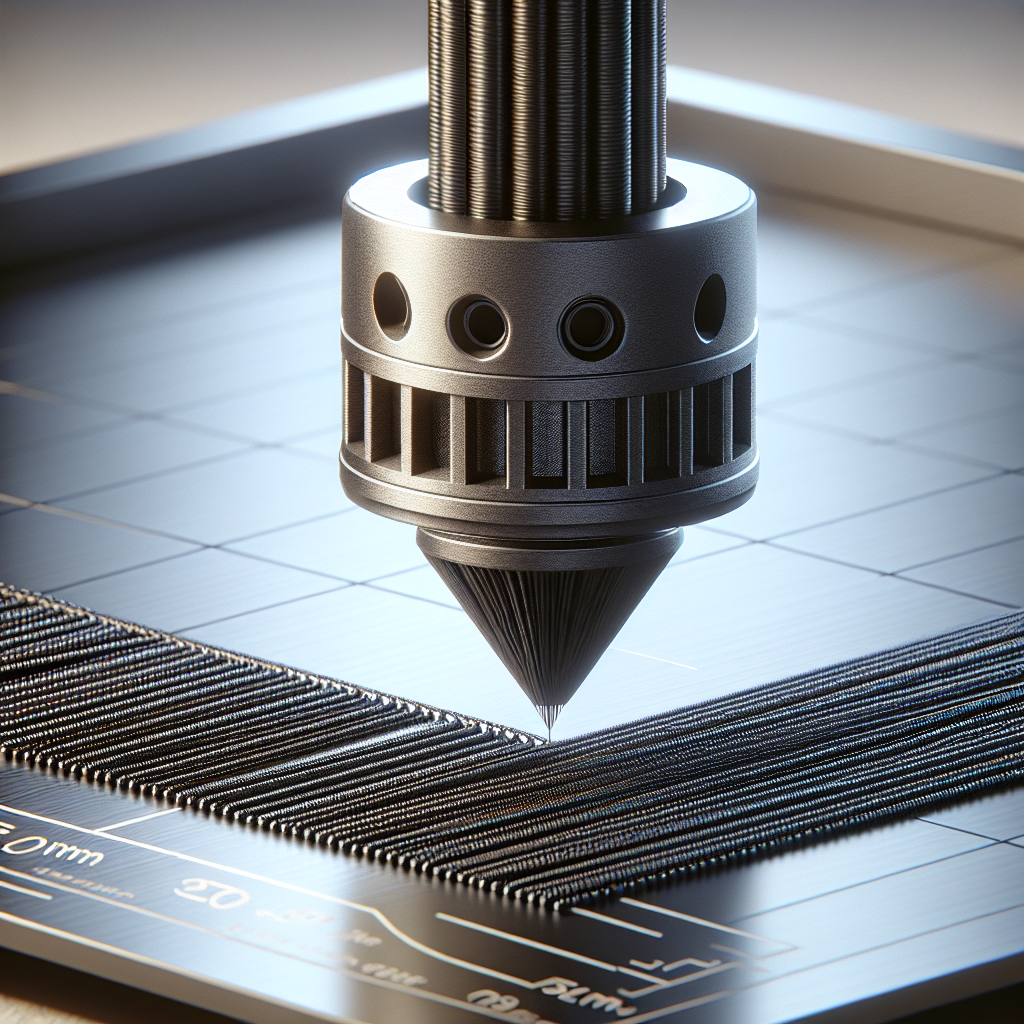
Preparing Your 3D Printer
Before printing, ensure your printer meets the following criteria:
- Nozzle size: Use a nozzle of at least 0.4mm, as conductive filaments are often abrasive and can clog smaller nozzles.
- Nozzle material: Hardened steel or wear-resistant nozzles are recommended, especially for filaments with carbon or metal additives.
- Bed adhesion: Standard heated beds with blue painter’s tape or PEI sheets work well. A bed temperature of 50-60°C is typical for PLA-based conductive filaments.
- Drying: Store filament dry and consider using a filament dryer, as moisture can negatively impact print quality and conductivity.
Slicer Settings for Conductive Filament
Printing settings for conductive filament are similar to standard PLA but require some fine-tuning:
- Temperature: Start with the manufacturer’s recommended range, usually 210–230°C. Avoid overheating, which can degrade conductivity.
- Speed: Print at a slower speed (30–50mm/s) to ensure good layer adhesion and consistent conductivity throughout the print.
- Layer height: 0.2mm is typical; thinner layers can improve connectivity but may increase resistance.
- Infill: For conductive paths, design your model with 100% infill in the conductive areas to maximize conductivity.
Designing for Electronics
Conductive filaments are ideal for low-power applications, such as touch sensors, keyboard traces, and simple LED circuits. When designing your parts:
- Wide Traces: Increase the width and height of conductive paths in your CAD model to reduce resistance. A minimum of 2mm width is recommended for traces.
- Separate Layers: If combining conductive and non-conductive materials, separate them by layers in your design and use multi-material printing or manual filament swaps.
- Contact Points: Incorporate larger pads or holes for connecting wires, alligator clips, or hardware for reliable connections.
Post-Processing and Testing
After printing, it’s essential to check the functionality of your conductive print.
- Remove debris: Clean the traces and contact points gently to ensure good conductivity.
- Measure resistance: Use a multimeter to test resistance across traces. Adjust your design if the resistance is too high for your application.
- Enhance connections: For more robust contacts, use conductive ink, solder, or conductive epoxy at the wire-to-print interface.
Limitations and Best Practices
Conductive filament is best suited for low-voltage, low-current applications (such as signal traces or capacitive touch sensors). It is not a substitute for copper wire or traditional PCB materials in power applications. Typical resistivity ranges from 10 to 1000 ohm·cm, so plan for extra-wide traces and minimal path lengths.
- Avoid using conductive prints for high-current circuits.
- Experiment with trace dimensions in small test prints before finalizing your design.
- Consider hybrid prints: use conductive filament for traces and standard filament for mechanical structure.
Example Projects
Some popular DIY electronics projects using conductive filament include:
- Custom capacitive touch lamps
- Simple wearable electronics and smart textiles
- Keyboard and button matrices for Arduino
- 3D printed game controllers
Conclusion
Conductive filament opens exciting possibilities for integrating electronics and mechanics in your 3D prints. With careful printer setup, thoughtful design, and awareness of material limitations, you can fabricate interactive prototypes and custom circuits right from your desktop. As always, start with simple projects and expand your skills as you experiment with this innovative material.
Leave a Reply