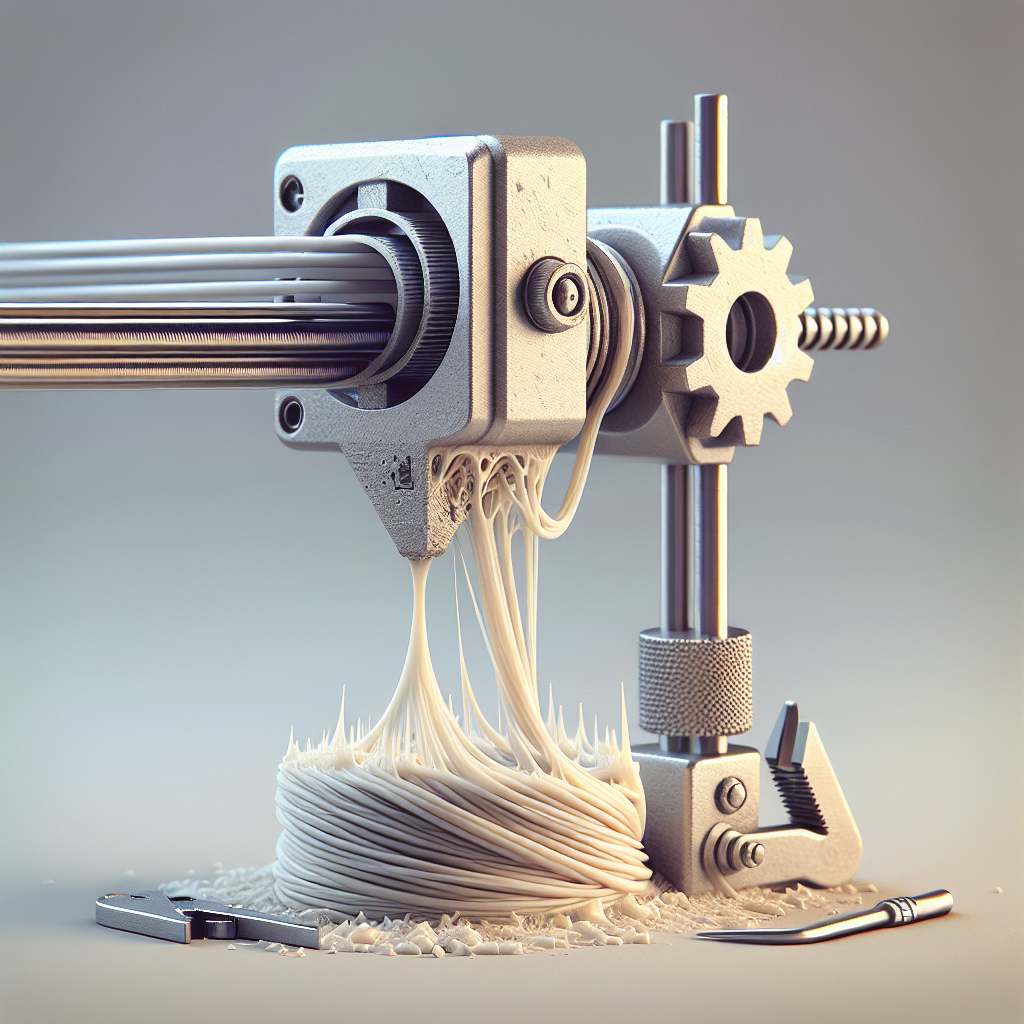
Understanding Under-Extrusion in 3D Printing
Under-extrusion is one of the most common and frustrating issues encountered by 3D printing enthusiasts and professionals alike. It manifests as weak, incomplete, or missing layers in your prints, resulting in poor part strength, rough surfaces, and failed models. Knowing how to diagnose and fix under-extrusion is essential for producing high-quality prints and maintaining your printer’s performance.
Common Symptoms of Under-Extrusion
Before diving into solutions, it’s important to recognize the signs of under-extrusion:
- Gaps between the lines of each printed layer
- Thin, weak walls or missing layers
- Clicking or grinding noises from the extruder
- Blobs, stringing, or broken filament during printing
- Prints that are brittle or easy to break
Top Causes of Under-Extrusion and How to Fix Them
Let’s break down the most frequent causes and actionable solutions:
1. Incorrect Print Temperature
If the nozzle is too cold, filament may not melt properly, causing intermittent extrusion. Check your filament manufacturer’s recommended temperature ranges and try increasing the print temperature by 5-10°C increments. For common materials:
- PLA: 190-220°C
- PETG: 230-250°C
- ABS: 220-250°C
Higher temperatures help decrease resistance in the hot end, allowing filament to flow more easily.
2. Clogged or Partially Blocked Nozzle
Even a slight clog in the nozzle can dramatically reduce flow. To fix:
- Heat the nozzle to the printing temperature for your filament.
- Use a fine needle or cleaning tool to carefully clear the nozzle.
- Perform a “cold pull” using nylon or cleaning filament to remove debris from the hot end.
- If the problem persists, consider replacing or soaking the nozzle in acetone (for ABS) or using a brass brush.
3. Incorrect Extruder Steps or Flow Rate
If your printer is not commanding the correct amount of filament, you’ll experience under-extrusion. Calibrate your extruder by:
- Mark 100mm on your filament above the extruder entry.
- Command your printer to extrude 100mm via the control panel or software.
- Measure the actual amount extruded. If it’s off, adjust your
Esteps/mmin the firmware or via your printer’s interface until it’s accurate. - Alternatively, adjust the flow rate (sometimes called extrusion multiplier) in your slicer.
4. Poor Quality or Old Filament
Moisture, dust, or inconsistent diameter can cause extrusion problems. To prevent filament issues:
- Store filament in a dry box with desiccant.
- Check for diameter consistency with calipers.
- Use reputable filament brands for best results.
- If filament is brittle or popping, dry it in a filament dryer or oven at low temperature (40-50°C) for several hours.
5. Extruder Gear Slipping or Tension Issues
The extruder’s drive gear must grip the filament securely. If it’s too loose, filament will slip; too tight and it may grind the filament.
- Inspect the extruder for filament dust or debris. Clean the gear and cavity.
- Adjust the tension lever or screw so the gear firmly grips the filament without flattening it.
- Check for excessive wear on the drive gear itself.
6. Bowden Tube or Hot End Obstructions
For Bowden-style printers, misaligned, worn, or partially blocked PTFE tubes can increase resistance.
- Ensure the PTFE tube is cut squarely and seated firmly against the nozzle.
- Replace the tube if it’s degraded, burnt, or has internal friction spots.
- Lubricate the filament path with a light touch of PTFE oil if needed.
7. Printing Too Fast or Too High of a Layer Height
Demanding too much flow can overwhelm your hot end or extruder.
- Reduce print speed in your slicer (start around 40-50mm/s for troubleshooting).
- Lower layer height to ensure smooth filament delivery (stay within 60-80% of your nozzle diameter).
Preventive Maintenance Tips
Consistent print quality comes from regular upkeep:
- Clean your nozzle and extruder regularly
- Keep your filament dry and dust-free
- Calibrate your extruder and check flow rates periodically
- Lubricate moving parts and inspect for wear
Conclusion: Troubleshooting Under-Extrusion for Perfect Prints
Under-extrusion can be intimidating, but with a systematic approach and regular printer maintenance, most issues can be quickly resolved. By checking your temperature, extrusion calibration, nozzle condition, filament quality, and mechanical parts, you’ll be back to printing strong, beautiful models in no time. Always make one change at a time and test your results—patience and methodical troubleshooting are the keys to 3D printing success.


Leave a Reply