
Understanding TPU: The Go-To Flexible Filament
Thermoplastic Polyurethane (TPU) is a highly versatile 3D printing material renowned for its flexibility, impact resistance, and rubber-like elasticity. Unlike rigid filaments such as PLA or ABS, TPU is ideal for applications requiring stretch, bend, or compression, like phone cases, gaskets, seals, and wearable projects. However, its unique properties can present some challenges during printing. Let’s walk through how to achieve great results when printing with TPU.
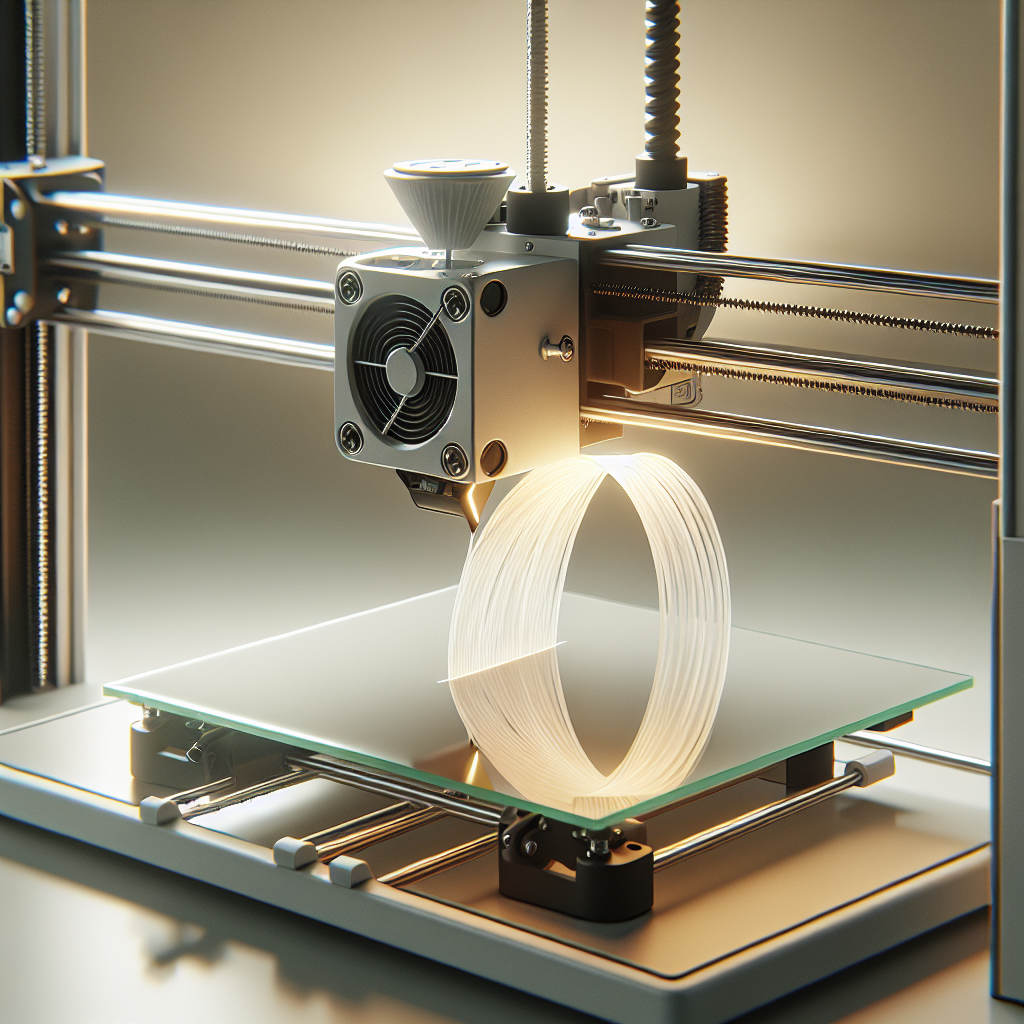
Printer and Hardware Considerations
Most FDM (Fused Deposition Modeling) 3D printers can handle TPU, but a few hardware characteristics make the journey smoother:
- Direct Drive Extruder: A direct drive setup, where the extruder motor sits close to the hotend, helps maintain precise filament control and reduces the chance of filament “snaking” or jamming.
- All-Metal Hotend: While not essential, an all-metal hotend can handle TPU’s moderately high printing temperatures and ensures longevity.
- Short, Constrained Filament Path: TPU is soft and can buckle in Bowden tubes. A short, well-constrained filament path minimizes jams.
While Bowden extruders can print TPU, expect to slow print speeds and check for any gaps in the filament path to avoid flex-induced jams.
Bed Preparation and Adhesion
TPU adheres well to most common bed surfaces, but preparation is key for warp-free prints:
- Heated Bed: Set your bed temperature between 40–60°C for optimal adhesion and to reduce warping.
- Bed Surfaces: Glass, PEI, and blue painter’s tape all work well. If you experience sticking, a light application of glue stick can act as a release agent.
- Level the Bed: Flexibles are sensitive to the first layer. Make sure your bed is level and your initial layer height is dialed in.
Optimal Slicer Settings for TPU
Dialing in your slicer profile is crucial for great TPU prints:
- Print Temperature: Most TPUs print best between 210–240°C. Start at the manufacturer’s recommendation and tweak as needed.
- Print Speed: Slow and steady wins the race. Set speeds between 15–30 mm/s. Going faster may cause under-extrusion or jams.
- Retraction: Minimize retraction distance and speed—try 1–2 mm at 20–30 mm/s for direct drive, and even less for Bowden. Excessive retraction can cause jams.
- Cooling: Use moderate part cooling (30–50%). Too much cooling can lead to poor layer adhesion, while too little can result in stringing.
- Layer Height: Standard values (0.2 mm) work fine, but for finer details, go lower.
Printing Tips & Best Practices
- Avoid Filament Kinks: TPU is springy and can tangle easily. Keep your spool tension under control and avoid sharp bends.
- Reduce Friction: Ensure the filament path is smooth. PTFE-lined paths help, and some users use light oiling.
- Disable Z-Hop: Z-hop can cause blobs or failed prints, since TPU resists vertical movement. It’s safer to disable it.
- Monitor Print Progress: TPU is less forgiving than rigid plastics. Watch your first few layers to catch issues early.
- Keep Dry: TPU absorbs moisture, which can cause bubbles and poor print quality. Store in a dry box and dry spools if needed.
Caring for Finished TPU Prints
Once your print is complete, let it cool before removing it from the bed. TPU is durable and won’t shatter, but rough handling can stretch or deform intricate features. If your part is stuck, gently flex the bed or use a plastic scraper.
TPU can be cleaned with mild soap and water. It is also resistant to oils and many chemicals, making it suitable for demanding applications. Over time, direct sunlight may degrade the color, so store printed parts accordingly.
Common Applications for TPU Prints
TPU’s unique combination of strength and flexibility makes it ideal for:
- Protective cases and bumpers
- Custom seals and gaskets
- Shoes, sandals, or wearable straps
- Vibration dampeners and feet
- RC car tires or flexible joints
Its potential is only limited by your design imagination!
Conclusion: Unlocking Flexible Possibilities
With the right setup and some patience, printing with TPU opens up a world of flexible, durable, and rubber-like 3D parts. Start slow, double-check your printer’s compatibility, and tweak your settings to match the unique characteristics of this filament. Once dialed in, you’ll discover why TPU is a favorite among makers looking to push the boundaries of functional 3D printing. Happy flexible printing!
Leave a Reply