
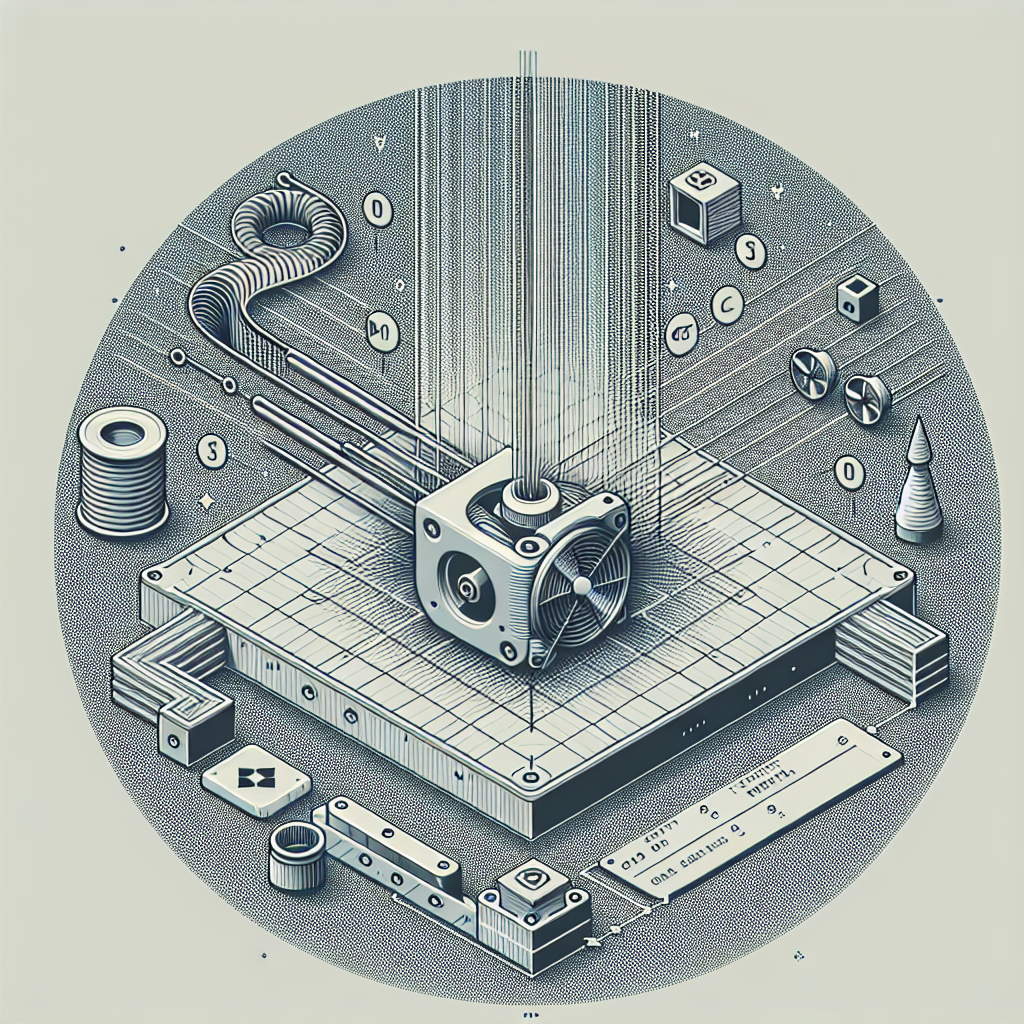
Understanding G-Code: The Language Behind 3D Printing
G-code is the programming language that drives 3D printers. Every movement, temperature change, and extrusion command issued by your printer is described in this code. While most slicers generate G-code automatically, modifying it manually unlocks advanced capabilities and fine-tuning options. Experienced makers know that understanding and editing G-code can mean the difference between standard prints and truly exceptional results.
Why Modify G-Code?
Customizing G-code allows you to go beyond the limitations of your slicer software. Here are some reasons you might want to tweak your G-code:
- Implementing seamless color changes
- Fine-tuning retraction and extrusion for complex geometries
- Optimizing print speed and quality at specific layers or sections
- Adding pauses for embedding objects or swapping materials
- Customizing start and end routines for better print adhesion or finish
Basic Structure of G-Code
Before diving into modifications, let’s recap the building blocks:
- G0/G1 – Linear move (with/without extrusion)
- M104/M109 – Set extruder temperature (M109 waits for temperature to be reached)
- M140/M190 – Set bed temperature (M190 waits for temperature to be reached)
- M106/M107 – Control cooling fans
- M25 – Pause print
- M600 – Change filament (if supported)
These commands, along with parameters like X, Y, Z (positioning), E (extruder), and F (feedrate/speed), are the backbone of your print instructions.
Advanced G-Code Tricks
1. Layer-Specific Modifications
Want to change print speeds or cooling at a certain layer? Open your G-code file in a text editor and search for the layer transition comment (commonly ;LAYER:XX or similar). Insert your desired command right after this marker. For example, to slow down the speed at layer 50:
;LAYER:50
M220 S50 ; Set speed factor to 50%
2. On-the-Fly Color or Material Changes
To introduce color swaps, use the M600 command. Place it right before the desired layer:
;LAYER:100
M600 ; Filament change
Your printer will pause and prompt you to swap filament, then resume printing.
3. Pausing for Embedded Objects
Want to integrate magnets, nuts, or electronics? Insert an M25 pause command at the target layer:
;LAYER:60
M25 ; Pause print
Once paused, insert your object, resume the print from your printer’s menu, and continue.
4. Custom Start and End G-Code
Fine-tuning the printer’s behavior before and after a print can improve adhesion and finish. Common tweaks:
- Adding extra bed leveling or nozzle cleaning moves at the start
- Cooling fans off and moving the bed forward at the end for easier part removal
Simply edit the start and end G-code sections in your slicer, or directly in the G-code file.
5. Temperature Adjustments for Different Materials
If your model combines different materials or needs a temp tweak at certain heights, change temperature mid-print:
;LAYER:80
M104 S210 ; Set extruder to 210°C
M140 S65  ; Set bed to 65°C
Best Practices for Safe G-Code Editing
- Backup your G-code file before editing: One typo can cause unexpected behavior!
- Use comments: Start lines with
;to add notes for your future self. - Test on small prints first: Avoid wasting hours and filament on untested code changes.
- Consult your printer’s documentation: Not all printers support every G-code command.
Tools for G-Code Visualization and Editing
- Notepad++ or VSCode: Excellent for syntax highlighting and large file handling.
- NC Viewer or Gcode.ws: Online tools for previewing toolpaths.
- PrusaSlicer and Cura: Offer built-in post-processing scripts for automating G-code tweaks.
Conclusion: Unlock the Full Potential of Your Printer
Learning to modify G-code empowers you to overcome hardware limitations and achieve unique, professional-quality prints. With a careful approach, a few custom tweaks, and a willingness to experiment, you can push your 3D printer to do things you never thought possible. Dive into your next project with confidence—and don’t be afraid to get your hands dirty with G-code!
Leave a Reply