
Understanding Living Hinges in 3D Printing
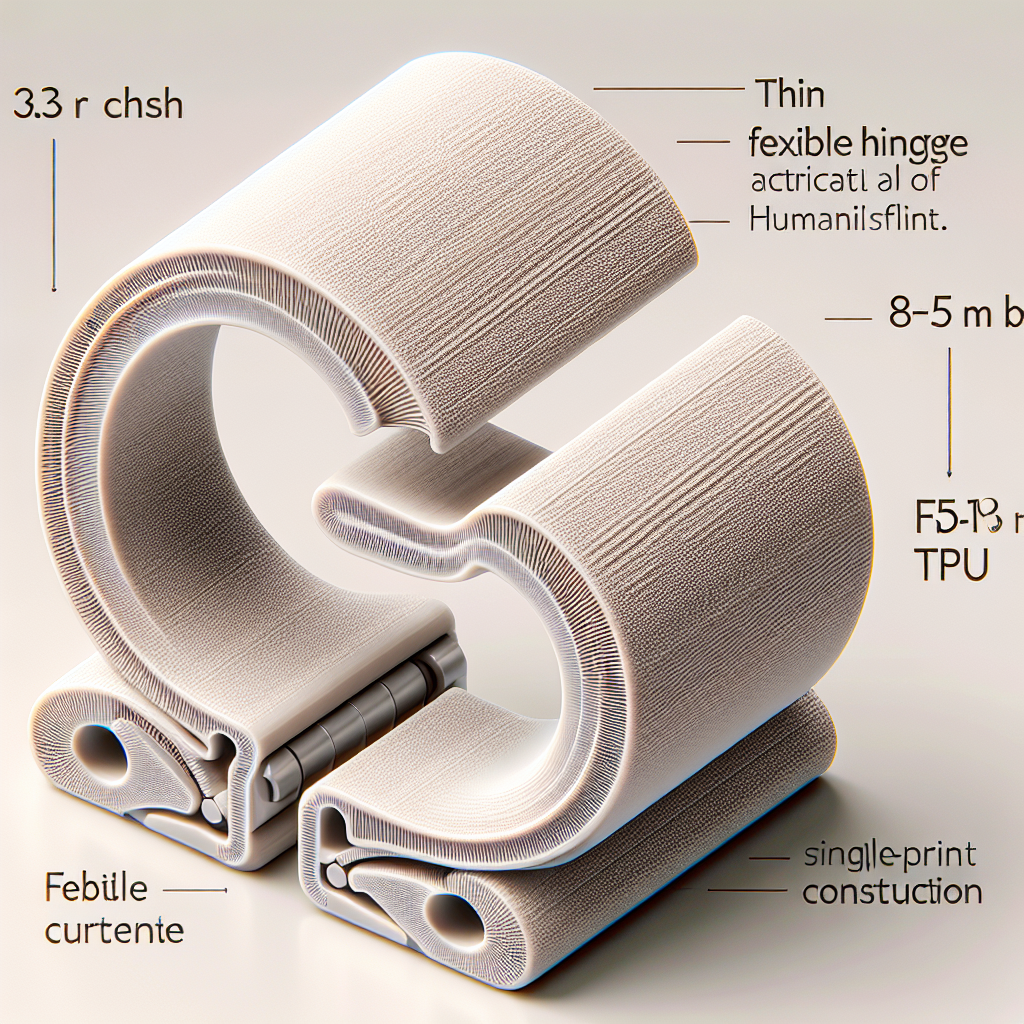
Living hinges are thin, flexible regions that connect two rigid sections of a part, allowing them to bend repeatedly without breaking. Found in everyday items like shampoo bottle caps and clamshell packaging, living hinges are invaluable for creating integrated, moving mechanisms in a single print. While traditionally manufactured using injection molding, advancements in 3D printing materials and techniques have made it feasible to design robust living hinges right from your desktop.
Best Materials for 3D Printed Living Hinges
Material selection is critical for the success of a living hinge. Not all 3D printing materials offer the required flexibility and durability. Here’s what to consider:
- Polypropylene (PP): The gold standard for living hinges in injection molding, but less common in desktop 3D printing due to warping and adhesion issues.
- Flexible Filaments: TPU (Thermoplastic Polyurethane) and TPE (Thermoplastic Elastomer) provide excellent flexibility and are well-suited to FDM/FFF 3D printers.
- PLA and ABS: While popular, these are generally too brittle for reliable hinges unless printed with optimal settings and hinge geometry.
- Advanced Options: Nylon offers better flexibility and resilience, making it a practical choice for more demanding applications.
Design Principles for Durable Living Hinges
Proper hinge design ensures longevity and function. Here are key principles based on real-world 3D printing experience:
- Hinge Thickness: For FDM printing, a hinge thickness of 0.3–0.5 mm is typical. Too thin, and the hinge may snap; too thick, and it will be stiff.
- Hinge Width: The width (length across the hinge) should be at least 8–10 mm for durability, although this depends on your design’s requirements.
- Fillet the Edges: Adding small radii (fillets) at the junction between the hinge and rigid sections distributes stress, reducing the risk of tearing.
- Avoid Sharp Corners: Sharp transitions concentrate stress and invite cracking—soft, curved transitions are best.
- Consistent Layer Orientation: Align the hinge so that the layers run parallel to its bending axis. This improves flexibility and minimizes delamination.
Optimizing Print Settings for Living Hinges
Your slicer settings and printer calibration can make or break a living hinge:
- Layer Height: Use lower layer heights (0.1–0.2 mm) for smoother, more consistent hinges.
- Wall Count: Reduce perimeters in the hinge zone to maintain flexibility, but increase them in the rigid areas for strength.
- Infill: Keep infill low or at 0% in the hinge zone; full infill in the rigid sections is ideal.
- Print Speed and Temperature: Print at the recommended temperature for your flexible filament, and slow down print speeds to ensure proper adhesion and avoid stringing in small hinge features.
Testing and Iteration: The Key to Success
Even with the best design guidelines, living hinges often require prototyping and testing:
- Print Small Test Hinges: Before committing to a full-scale project, print a small sample to evaluate flexibility and durability.
- Cycle Testing: Bend your test hinge repeatedly to simulate real-world use. Look for signs of cracking or delamination.
- Iterate on Design: Adjust thickness, width, or material as needed until you achieve the desired performance.
Common Applications of 3D Printed Living Hinges
With the right technique, living hinges dramatically expand the possibilities for 3D printed products:
- Snap-fit lids and boxes
- Clamshell enclosures for electronics
- Wallets and organizers
- Wearable devices with integrated closures
- Prototyping consumer packaging concepts
Conclusion
Designing 3D printed living hinges is both a science and an art. By selecting the right material, adhering to proven design principles, optimizing print settings, and thoroughly testing your prototypes, you can create flexible, durable hinges that rival those made by traditional methods. As 3D printing materials continue to advance, the possibilities for integrated, flexible parts will only grow—so experiment, iterate, and unlock new design potentials for your next project!
Leave a Reply