Understanding the Challenge: Printing Big on a Small Printer
One of the most common limitations makers face is wanting to create large and impressive 3D objects, only to realize their printer’s build volume is much too small. The good news? With some planning and the right techniques, you can print objects much larger than your machine’s official specifications. In this guide, I’ll share the most effective strategies for printing oversized projects, based on real-world 3D printing experience.
Splitting Your Model: Divide and Conquer
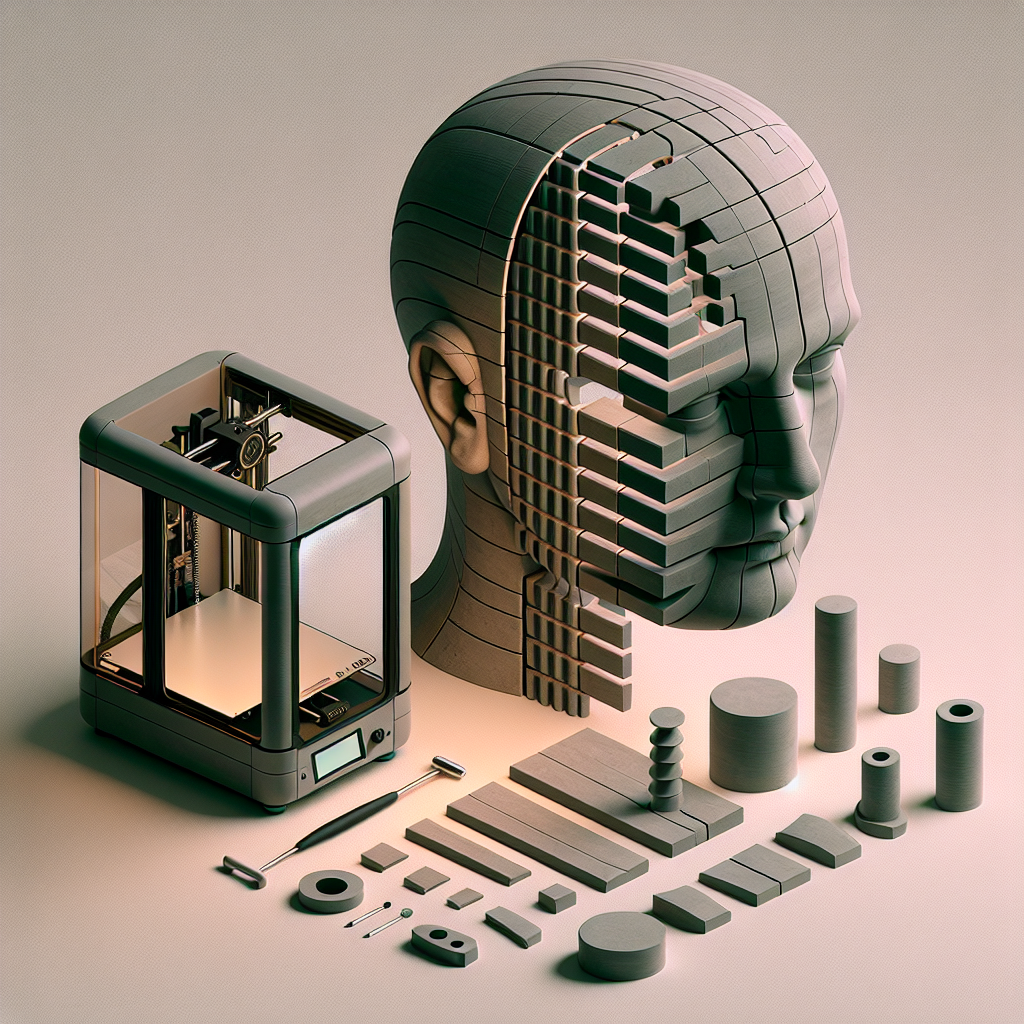
The go-to method for tackling large prints is to break your model into smaller, printer-friendly pieces. You’ll need a 3D modeling program (like Blender, Fusion 360, or Tinkercad) or a mesh editing tool (such as Meshmixer or Netfabb) to split your STL or OBJ files. Here’s how:
- Analyze your design. Look for natural seams, flat surfaces, or joints where sections could be joined later.
- Split strategically. Try to avoid splitting across fine details or curved areas—flat, hidden sections make for easier, less visible seams.
- Add joining features. Incorporate pegs, slots, dovetails, or puzzle-style connectors to help with alignment and strength during assembly.
Once split, export each part as its own printable file. Most slicers (like Cura or PrusaSlicer) will let you preview each segment to confirm fit.
Optimizing Joints for Strength and Alignment
Simply gluing two flat faces together may work for small parts, but for larger, heavier builds, you’ll want more robust solutions.
- Peg and hole connections: Design cylindrical or rectangular pegs and matching holes to help pieces lock together.
- Dovetail joints: These interlocking joints resist separation and add strength, especially on long seams.
- Internal supports: For extra-large or load-bearing models, you can embed nuts and bolts, threaded inserts, or even wooden dowels during assembly.
Printing and Post-Processing: The Devil’s in the Details
Consistency is key when printing multiple parts. Use identical print settings (layer height, infill, temperature) for each segment to keep tolerances tight and surface textures matching. Once printed:
- Dry fit all parts before gluing to check alignment and make any trimming adjustments.
- Sand mating surfaces for a better glue bond and reduced visible seams.
- Use the right adhesive: Super glue, epoxy, or even plastic welding (using a soldering iron) can all work, depending on your material.
- Fill seams if necessary: Use modeling putty or a 3D pen with matching filament to fill in gaps, then sand for a smooth finish.
Advanced Techniques: Registration Keys, Dowels, and Assembly Aids
For truly massive projects, or when you need structural integrity, consider these tips:
- Registration keys: These are unique shapes embedded in the joint to ensure perfect orientation and prevent rotation.
- Mechanical fasteners: Use screws, bolts, or even magnets for pieces that need to be disassembled or repositioned.
- Print-in-place hinges or joints: For articulated or foldable models, design in moving parts so the final object can expand to full size after assembly.
Case Study: Printing a Life-Sized Helmet on an Entry-Level Printer
A common project is a life-sized cosplay helmet. On a printer with a 220x220x250mm build volume, you can:
- Split the helmet into front, back, and top sections, following the natural seam lines of the design.
- Add pegs and slots to ensure alignment during assembly.
- Print each part, sand and glue together, then use automotive filler and primer to achieve a seamless finish.
The result: a wearable helmet, indistinguishable from a single-piece print.
Tips for Better Large-Part Printing
- Plan for print time: Larger parts mean longer prints. Use draft mode for hidden inner pieces, and save finer settings for visible surfaces.
- Manage warping and shrinkage: Print with a brim or raft and use an enclosure if possible—large parts are more prone to warping.
- Consider filament type: PLA is easiest for large multi-part prints, but consider PETG or ABS for stronger, more heat-resistant projects.
Conclusion: Your Small Printer, Unlimited Possibilities
Don’t let a small build plate limit your creativity. With smart model splitting, robust joining methods, and careful finishing, you can produce huge, professional-quality 3D prints on any standard desktop printer. The key is planning and patience—two essentials for every 3D printing enthusiast. Happy printing!


Leave a Reply