
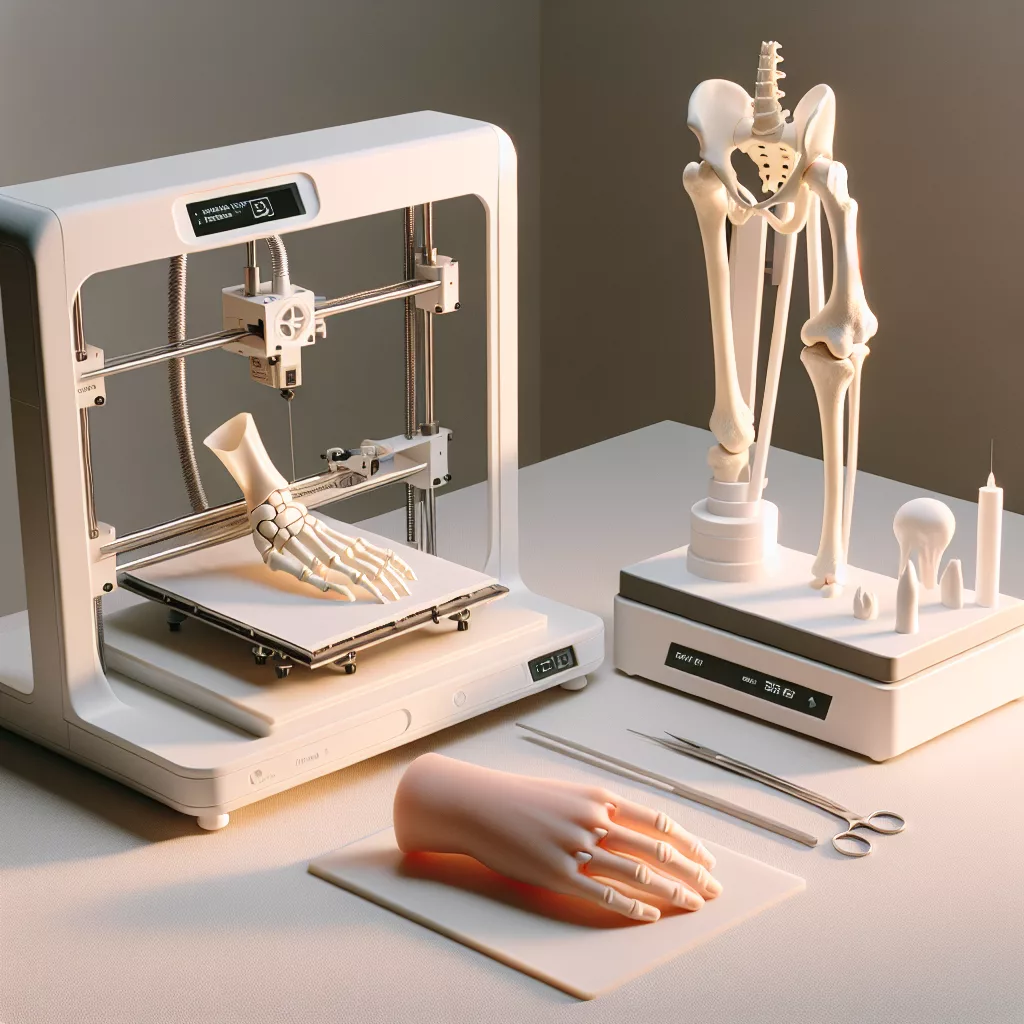
Understanding Fully Assembled Articulated Models
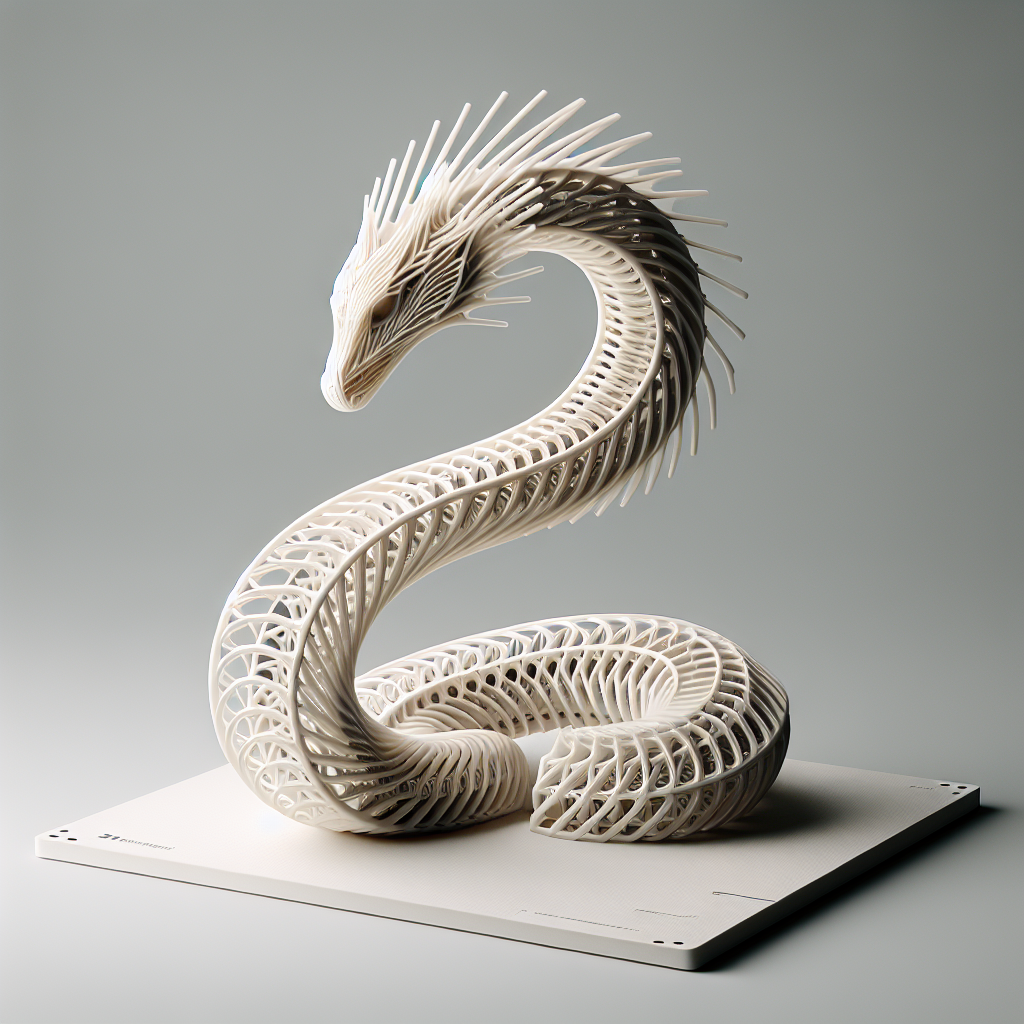
Fully assembled articulated models have exploded in popularity among 3D printing enthusiasts. These are models designed to print in one single piece, featuring moving joints or segments—think of flexible dragons, snakes, octopuses, or mechanical parts right off the print bed. The magic of printing these models lies in both the clever design and the precise settings of your 3D printer.
Choosing the Right Articulated Model
Start by sourcing a well-designed articulated model. Repositories like Thingiverse, Printables, and MyMiniFactory offer thousands of articulated prints. Look for models specifically tagged as “print-in-place” or “fully assembled.” Check user comments and remixes to gauge how well a model prints; some designs may be more beginner-friendly than others.
Printer Preparation and Calibration
Success begins with a well-calibrated 3D printer. Here’s what to double-check before starting your print:
- Bed Leveling: Ensure the print bed is perfectly leveled. Inconsistent leveling can cause fused joints or poor adhesion.
- Extruder Calibration: Over-extrusion or under-extrusion can ruin articulation. Print a calibration cube to confirm your steps/mm is correct.
- Nozzle Health: A clean nozzle with the correct size (typically 0.4mm) is essential for printing small, detailed hinges or gaps.
Optimizing Slicer Settings for Articulated Prints
Articulated models rely on precise clearances—usually 0.3-0.5mm gaps between moving parts. The wrong slicer settings can easily weld these joints together.
- Layer Height: Use 0.2mm or finer. Thinner layers improve detail and reduce the chance of joints fusing.
- Wall Count and Infill: Two or three perimeters is sufficient. Infill typically doesn’t impact articulation but supports overall strength.
- Print Speed: Slower speeds (30–50mm/s) allow for better detail and accuracy.
- Cooling: Enable part cooling fans, especially for small, intricate sections. Poor cooling can cause blobs that fuse articulated pieces.
- Supports: Many articulated models are designed to print without supports. Double-check the model’s instructions. If supports are needed, use “support blockers” in your slicer to protect moving parts.
Material Considerations
PLA is the most forgiving filament for articulated models due to its minimal warping and good bridging capability. If you’re experienced, consider PETG for more flexibility or TPU for truly flexible, rubbery models. Be aware that flexible filaments can complicate print-in-place clearances and may require adjusted slicer settings.
First Layer and Adhesion
A great first layer is critical. Use a clean, adhesive-friendly print bed (glass with glue stick, PEI sheet, or a textured plate). Watch the first layer closely—if it’s too squished, joints may fuse; too high, and parts may not bond.
Post-Processing and Freeing the Joints
When the print is done, let it cool completely before removal. Carefully flex or twist the joints; some models require a bit of gentle force to break free any micro-fused points. If certain parts are stuck, use a precision knife or a small pick to carefully separate them.
Troubleshooting Common Issues
- Fused Joints: Check layer height and extrusion; try increasing the model’s joint clearance by scaling up slightly, or adjust your slicer’s horizontal expansion settings.
- Fragile Connections: Raise infill, increase the number of perimeters, or print at a slightly higher temperature for better layer adhesion.
- Warping/Lifting: Use a brim, raft, or increase bed temperature for a more secure print base.
Final Thoughts
Printing fully assembled articulated models is one of the most rewarding aspects of desktop 3D printing. With the right model, careful setup, and calibrated printer, you’ll unlock complex, moving creations without any assembly. The experience is part technical challenge, part creative magic—so experiment, iterate, and enjoy the process!
Leave a Reply