
Understanding Cura’s Ironing Feature
Cura, one of the most popular slicing software choices among 3D printing enthusiasts, offers a powerful feature known as “ironing.” If you’ve ever noticed that the topmost layers of your 3D prints look dull, uneven, or show visible lines, ironing could be your solution. This setting smooths the top surfaces by running the hot end over them after completing the final layer, gently melting and flattening the extruded filament. Let’s break down how to use Cura’s ironing feature for impressively smooth top layers.
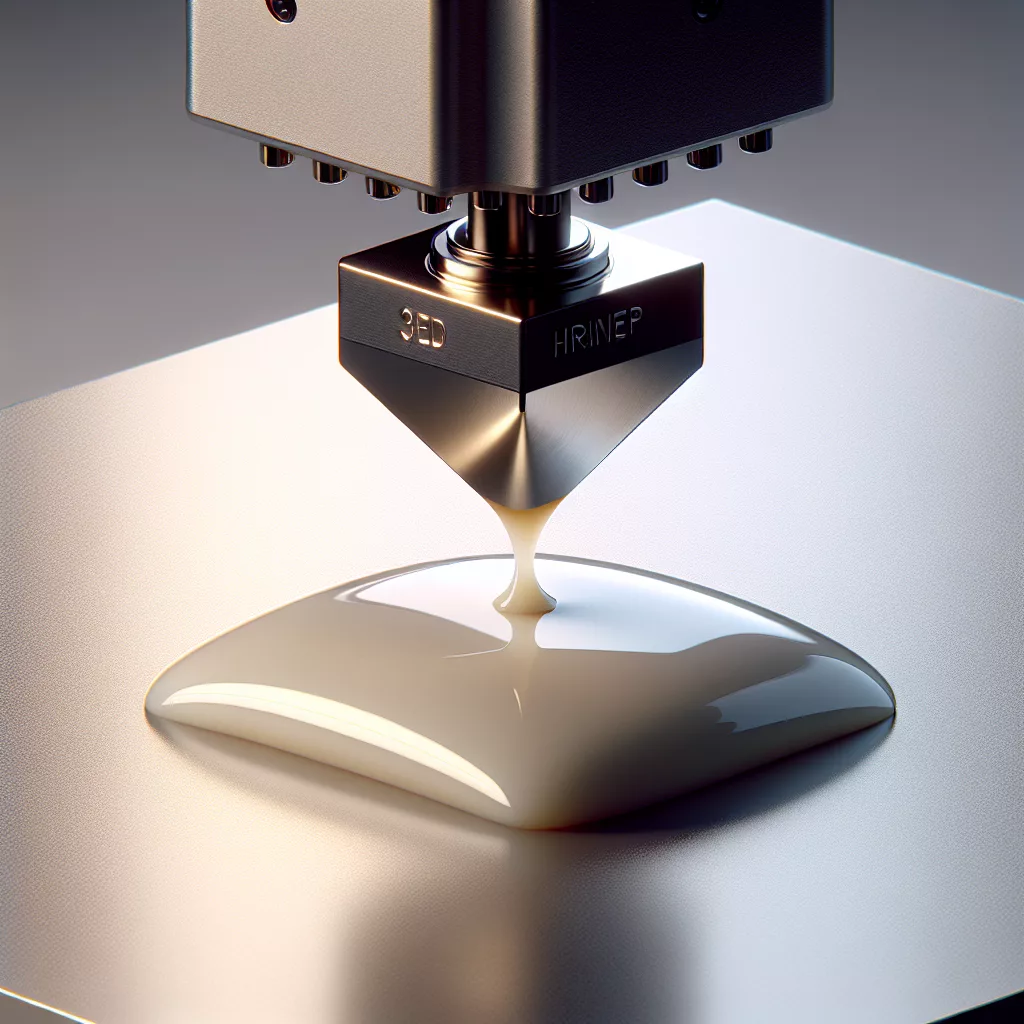
What is Ironing and How Does It Work?
Ironing in Cura involves the printer’s nozzle passing over the top layer of your print, extruding a very small amount of material (or sometimes none at all) while lightly pressing it down. This process fills in tiny gaps and smooths out ridges formed by the extrusion lines, resulting in a glassy, almost injection-molded appearance. It’s especially effective for functional parts that need a professional look or for aesthetic models where a flawless top surface matters.
How to Enable Ironing in Cura
To start using ironing, follow these steps:
- Open your model in Cura and select your printer and material as usual.
- Switch to the “Custom” print settings view.
- In the search bar at the top of the settings panel, type “Ironing.”
- Check the box for Enable Ironing (sometimes shown as “Irons Top Layers”).
By default, ironing only applies to the very top layer, but you can adjust which layers it affects in the settings.
Key Ironing Settings and Their Impact
Cura provides several parameters to fine-tune ironing. Here’s what you need to know:
- Ironing Pattern: Choose between Zig Zag or Concentric. Zig Zag works well for most prints, while Concentric can produce a unique finish for circular surfaces.
- Ironing Flow: This controls how much material is extruded during ironing, typically set between 5-15%. Too high, and you risk blobs; too low, and you’ll see little smoothing.
- Ironing Speed: The slower the nozzle moves, the more time it has to smooth the surface. Speeds between 15-30 mm/s are common.
- Iron Only Highest Layer: For most prints, leave this enabled. Disabling it can iron multiple top layers, but may increase print time without significantly better results.
- Ironing Inset: Adjusts how far the ironing pass stays from the edge of the part. A small inset (0.1-0.2 mm) prevents the nozzle from dragging over the perimeters, reducing the risk of edge artifacts.
Best Practices for Smoother Results
Drawing on years of 3D printing experience, here are some tips to make the most of ironing:
- Use a Flat, Even First Layer: Smoothing only works on surfaces that are already relatively consistent. Make sure your bed is well-leveled and your first layer is dialed in.
- Watch Filament Choice: PLA tends to iron very well. PETG and ABS are also suitable, but can sometimes string or smear if ironing flow is too high.
- Monitor for Over-extrusion: If you see blobs or streaks, lower the ironing flow percentage.
- Be Patient: Ironing adds time to your print. Don’t rush it—let the process work for the flattest surface.
- Experiment with Patterns: Try both Zig Zag and Concentric to see which gives you the best finish for your specific model.
Common Issues and Troubleshooting
While ironing is incredibly useful, it isn’t without challenges:
- Nozzle Drag: If your nozzle catches the edge of your print, increase the ironing inset slightly.
- Stringing or Smearing: Try lowering the ironing flow or decreasing the print temperature by 5-10°C.
- Banding: Inconsistent movement during ironing can cause banding. Make sure your printer’s motion system is well-maintained and belts are properly tensioned.
- Surface Imperfections Still Visible: Increase the number of top layers in your print settings—at least 6-8 layers for optimal smoothing.
When to Use (and Not Use) Ironing
Ironing isn’t always necessary. Reserve it for parts where the top surface is visible and finish quality is paramount—think display models, cases, or flat lids. For purely functional prints where strength or speed is critical, you can skip ironing to save time.
Final Thoughts
Cura’s ironing feature is a simple way to dramatically upgrade your prints’ appearance, especially for those who value aesthetics. With a bit of experimentation and attention to settings, you’ll be able to achieve top layers that rival professional-grade finishes. Try enabling ironing on your next project—your prints will thank you!

Leave a Reply