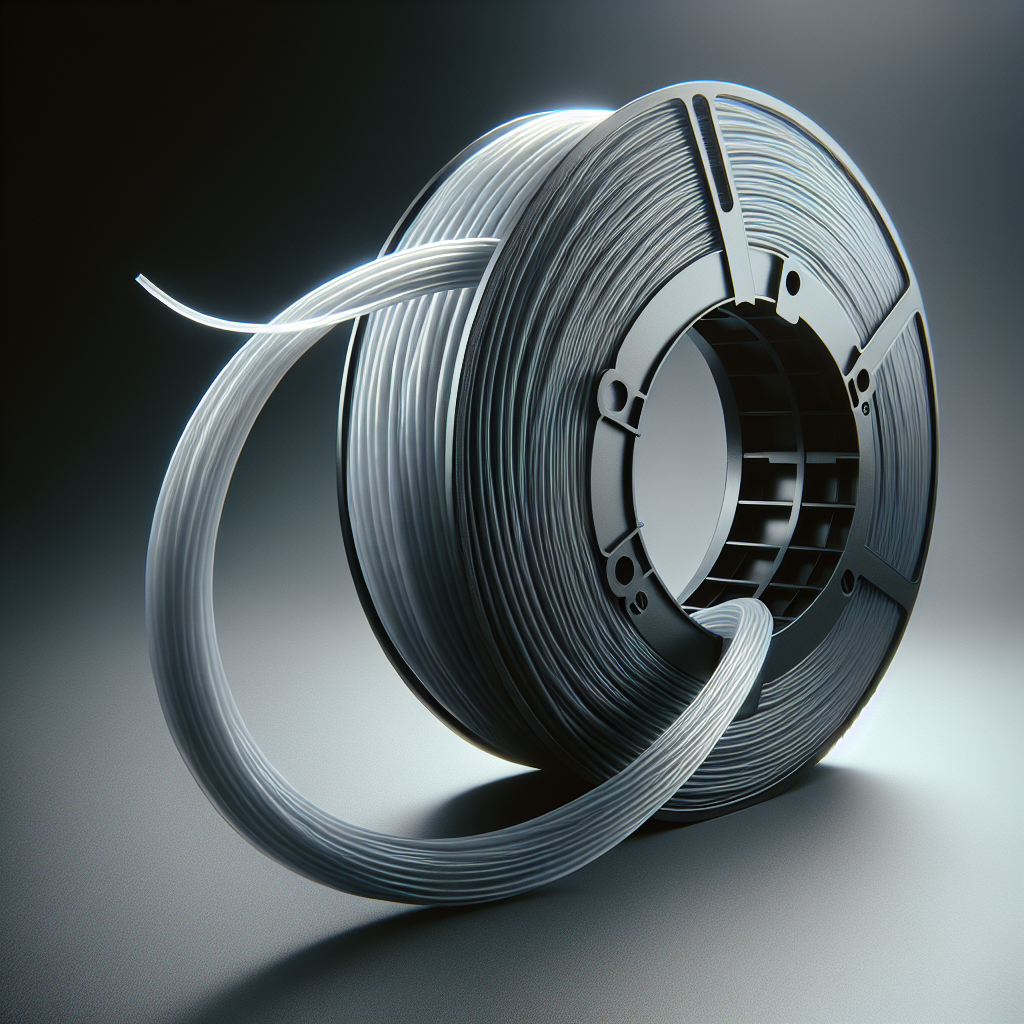
Understanding TPU: The Flexible Filament
Thermoplastic Polyurethane (TPU) has carved a niche in the 3D printing world due to its remarkable flexibility, resilience, and rubber-like elasticity. Whether you’re aiming to print phone cases, gaskets, wearable straps, or shock-absorbing parts, TPU offers unique mechanical properties that set it apart from more rigid filaments like PLA or PETG. However, this flexibility presents its own set of printing challenges. Drawing on years of hands-on experience, I’ll guide you through the essential steps to successfully print with TPU.
Key Advantages of Printing with TPU
TPU is prized for:
- Flexibility: Can bend and stretch without breaking.
- Elasticity: Recovers to its original shape after deformation.
- Durability: Resistant to abrasion, oils, and many chemicals.
- Shock Absorption: Excellent for vibration dampening and impact protection.
Is Your 3D Printer Ready for TPU?
Not all 3D printers are equally equipped to handle TPU. Here’s what you need to check:
- Direct Drive Extruder: These are best for flexible filaments. Bowden setups can work, but require careful tuning due to the long filament path, which can cause buckling.
- Filament Path: Look for a constrained (tight) filament path from the extruder to the hotend. Gaps allow TPU to flex and jam.
- Gear Tension: TPU is soft; too much tension can deform the filament, too little and the gears can slip.
Essential Slicer Settings for TPU Success
TPU requires different printing parameters than rigid filaments. Here are the most important settings to dial in:
- Print Speed: Start low—15-30 mm/s is ideal. Higher speeds increase the risk of tangling or clogging.
- Retraction: Minimize retraction distance (0.5-2 mm) and speed (10-20 mm/s), or even disable retraction if you encounter clogging.
- Temperature: Typically 210-230°C, but always check your filament manufacturer’s recommended range.
- Bed Temperature: 40-60°C helps with adhesion, but not all TPUs require a heated bed.
- Layer Height: 0.2 mm is a safe starting point; smaller heights give better detail but increase print time.
Tips for Handling and Feeding TPU Filament
TPU’s flexibility means it can be tricky to load and feed. Here’s how to avoid the common pitfalls:
- Slow and Steady: Load filament slowly, watching for kinks or bends at the extruder inlet.
- Keep it Dry: TPU is hygroscopic—store in a drybox or with desiccant. Wet TPU will pop and bubble during printing, degrading quality.
- Watch for Snags: Ensure the filament spool can unwind smoothly; resistance can stretch or bind the filament.
Bed Preparation and Adhesion Tricks
Good bed adhesion is key for successful TPU prints but is typically easier than with ABS or nylon. Try these techniques:
- Use a Clean Surface: Glass, PEI, or buildtak surfaces work well. Clean with isopropyl alcohol before printing.
- Apply a Light Adhesive: Blue painter’s tape, glue stick, or hairspray can help if you have issues with lifting or warping.
- First Layer Magic: Print the first layer slower (10-15 mm/s) and slightly squished to maximize surface contact.
Overcoming Common TPU Printing Issues
Even experienced users run into snags with TPU. Here’s how to solve the most frequent problems:
- Stringing: Reduce retraction, lower print temperature, and increase travel speeds between moves.
- Clogs and Jams: Slow down, check the filament path, and avoid sharp bends between the extruder and hotend.
- Under-Extrusion: Increase print temperature or slow down the print; ensure your nozzle is clean and unobstructed.
- Poor Layer Adhesion: Raise the extrusion temperature (within manufacturer limits) and make sure your first layer is perfect.
Design Considerations for Flexible Parts
Designing for TPU is different than for rigid plastics. Keep these tips in mind:
- Wall Thickness: Thicker walls increase strength but reduce flexibility. Balance for your application.
- Infill Pattern: Gyroid or grid infills provide even strength and flexibility.
- Bridging and Overhangs: TPU struggles with long bridges; minimize unsupported spans in your models.
- Interlocking Parts: Add clearance for snap fits or joints—TPU is compressible and may fit tighter than expected.
Post-Processing and Finishing TPU Prints
TPU prints generally require little post-processing. For best results:
- Remove Supports Carefully: TPU is tear-resistant but can stretch; use a hobby knife and patience.
- Trimming: Scissors or flush cutters work well for removing small strings or excess material.
Conclusion: Embrace the Flexibility
Printing with TPU unlocks a world of possibilities for durable, elastic, and functional parts. While it demands careful setup and patience, the results are well worth the effort. Start slow, experiment with settings, and soon you’ll master this versatile material—empowering your 3D printer to create far more than just rigid objects.


Leave a Reply