Understanding Polycarbonate: The Toughest Filament for 3D Printing
Polycarbonate (PC) is widely recognized as one of the strongest materials available for desktop FDM 3D printing. Known for its extraordinary impact resistance, optical clarity, and heat tolerance, polycarbonate is the go-to material for engineers and makers needing super strong, functional parts. However, its impressive properties come with several printing challenges. In this guide, I’ll share my experience and best practices for printing with polycarbonate, ensuring you get tough, reliable prints every time.
Why Choose Polycarbonate?
Polycarbonate stands out for its mechanical strength and durability. It’s commonly used for automotive parts, protective gear, machine components, and even bullet-resistant glass. Key advantages include:
- High Impact Strength: Far exceeds ABS and PLA.
- Heat Resistance: Can withstand temperatures up to 110–150°C, ideal for parts exposed to heat.
- Dimensional Stability: Maintains shape under stress.
- Optical Clarity: Some blends are nearly transparent.
Printer Requirements for Polycarbonate
Printing polycarbonate is not for every machine. Here are the must-haves:
- All-Metal Hotend: Needs to reach and maintain at least 260–300°C. Avoid PTFE-lined hotends, as PTFE degrades at high temperatures.
- Heated Bed: Bed temperatures of 100–120°C are recommended to reduce warping.
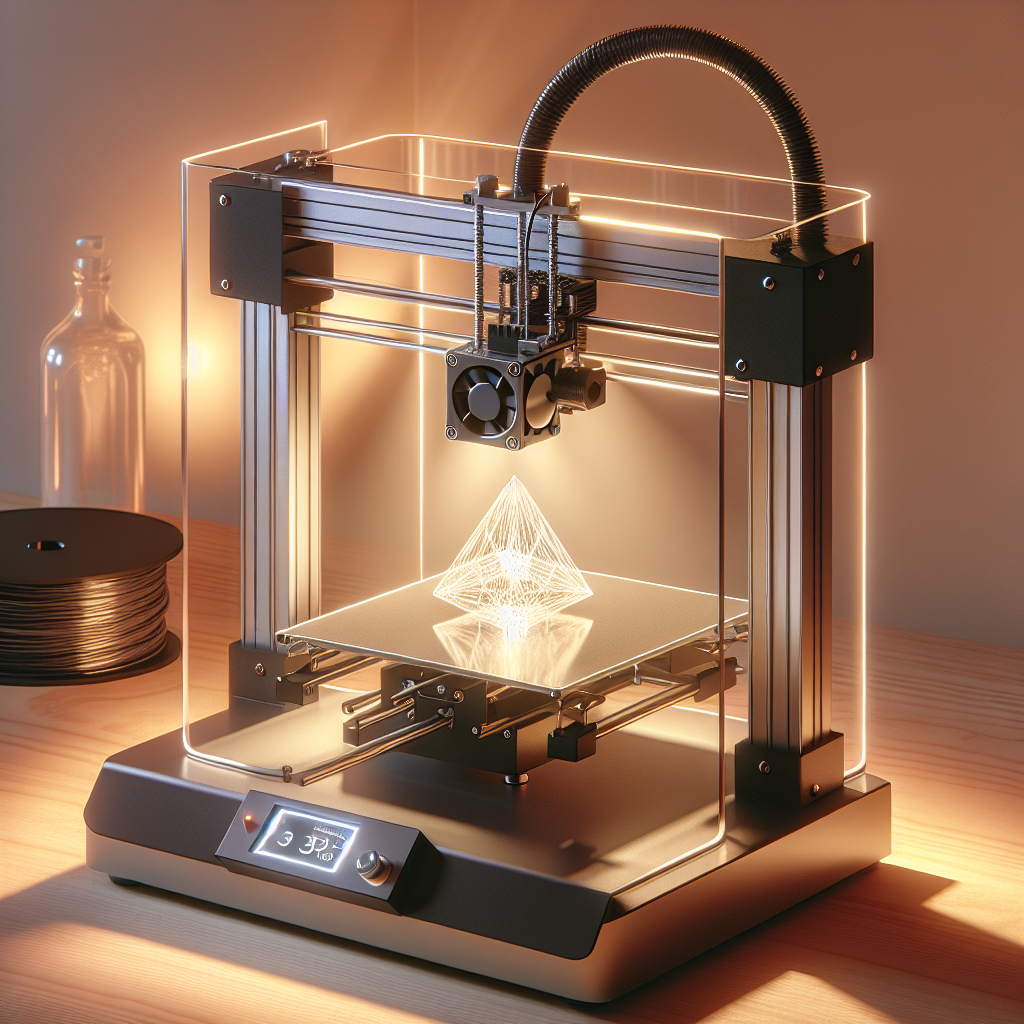
- Enclosure: Essential to control ambient temperature and prevent drafts, which cause warping and cracking.
- Build Plate: Polycarbonate sticks exceptionally well to certain surfaces. Polycarbonate sheets, garolite, or PEI work well, sometimes with a glue stick or specialized adhesive.
Best Settings for Printing Polycarbonate
- Nozzle Temperature: 260–300°C (Consult your filament manufacturer for the optimal range.)
- Bed Temperature: 100–120°C
- Print Speed: 20–40 mm/s is best for strong layer adhesion.
- Cooling: Turn off or minimize part cooling fans. Polycarbonate needs to cool slowly to prevent cracking and warping.
- Layer Height: 0.2 mm or larger. Thicker layers help with interlayer bonding.
Tips for Successful Polycarbonate Printing
- Dry Your Filament: Polycarbonate is hygroscopic—absorbs moisture from air. Always dry your filament at 70–80°C for at least 4 hours before printing, and store it in a dry box.
- Minimize Warping: Use a brim or raft to increase bed adhesion. Keep the enclosure closed throughout the print. Avoid sudden temperature changes.
- Prepare the Build Surface: Clean your print bed thoroughly. Use a glue stick, Magigoo PC, or polycarbonate sheet as a build surface for optimal results.
- Tune Retraction Settings: Polycarbonate can string. Dial in retraction distance and speed to minimize oozing without causing jams.
- Ventilation: While PC is safer than some other engineering filaments, always print in a well-ventilated area or use an air filter.
Post-Processing and Finishing Polycarbonate Prints
Polycarbonate is tough, but it sands and drills well for post-processing. Here’s how to get the best finish:
- Sanding: Start with 200–400 grit sandpaper for rough surfaces, followed by finer grits for a smoother finish.
- Bonding: Polycarbonate can be glued with methylene chloride or super glue for strong joins.
- Annealing: For maximum strength, you can anneal the part by heating it in an oven at 110–120°C for 1–2 hours, allowing it to cool slowly. This relieves internal stresses and increases impact resistance.
Common Problems and How to Fix Them
- Warping: Use an enclosure, increase bed temp, and use a brim or raft.
- Poor Layer Adhesion: Increase nozzle temperature, slow down print speed, and turn off part cooling fan.
- Stringing: Fine-tune retraction settings, ensure filament is dry, and try lowering the hotend temperature slightly.
When to Use Polycarbonate
Choose polycarbonate when you need:
- Functional prototypes that must withstand real-world stress
- Parts exposed to heat, impact, or wear
- Clear or translucent parts (with suitable grades)
- Fixtures, jigs, or supporting mechanical components
Final Thoughts
Polycarbonate can be intimidating to print, but with the right setup and techniques, you can unlock its full potential for super strong, heat-resistant, and durable parts. Invest in a high-quality printer capable of reaching the necessary temperatures, always print in an enclosure, and keep your filament dry for the best results. Once you master the nuances of polycarbonate, you’ll have a material in your arsenal that rivals injection-molded parts in both strength and utility.


Leave a Reply