
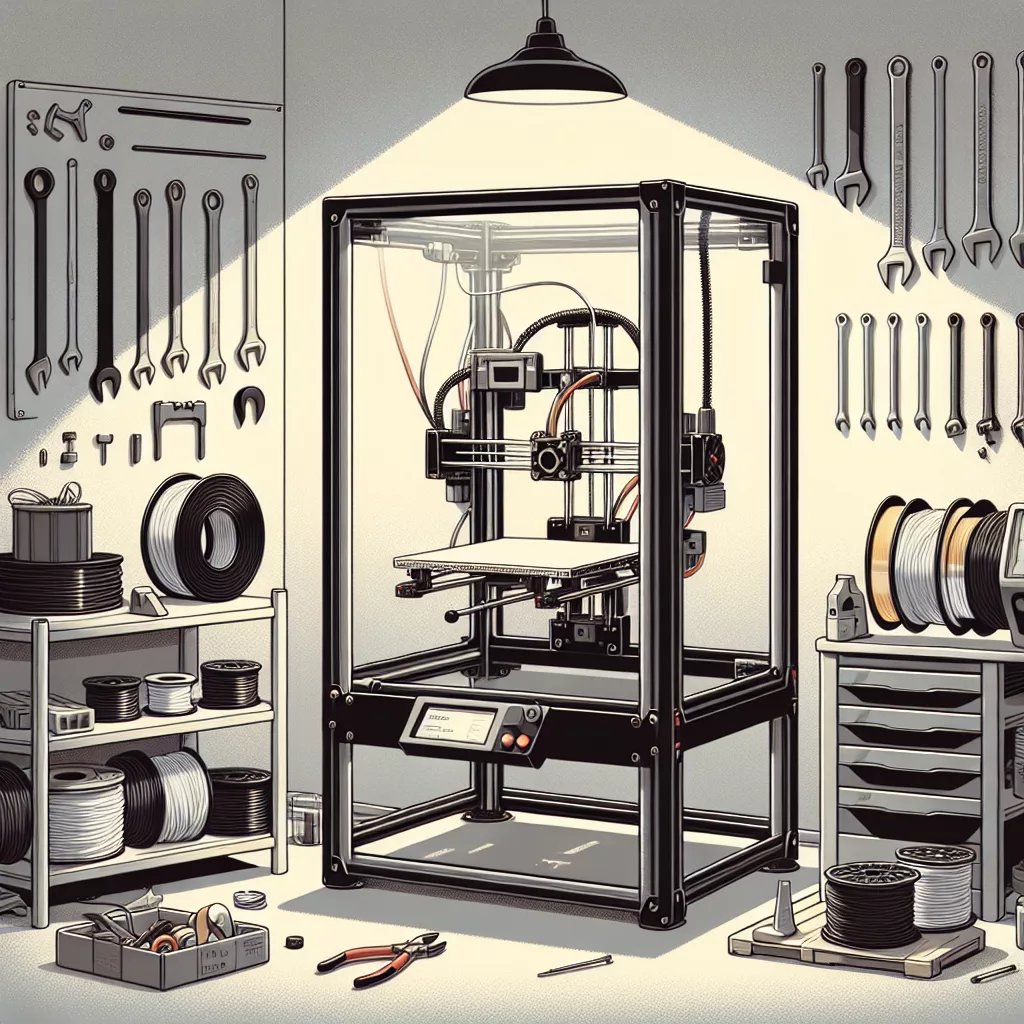
Warping is one of the most frequent and frustrating problems encountered in 3D printing. It occurs when printed material cools unevenly, causing edges or corners of the print to lift off the build plate. Not only does warping affect the aesthetics of your print, but it can also compromise dimensional accuracy and functionality. Fortunately, there are proven techniques and practices to effectively minimize and even eliminate warping issues.
What Causes Warping in 3D Prints?
Warping happens primarily due to thermal contraction. When the hot, melted filament is extruded onto a relatively cooler build plate, it begins to cool rapidly. As it cools, the material shrinks, pulling inward, and lifting corners or edges off the build plate. This phenomenon is more common with materials like ABS and Nylon, which have higher thermal contraction rates compared to PLA.
Understanding the root causes of warping can help you tackle this issue more effectively.
How to Fix Warping Issues in Your 3D Prints
1. Improve Your Bed Adhesion
Effective adhesion between the first layer and the build plate is crucial. Here are several techniques worth exploring:
- Clean Your Build Plate: Ensure your print surface is clean and free from residue, oils, or dust. Isopropyl alcohol is ideal for cleaning most surfaces.
- Use Adhesion Aids: Products like glue sticks, hairspray, or specialized adhesion sprays can significantly enhance build plate adhesion.
- Apply Adhesive Surfaces: Consider adhesive surfaces like BuildTak, PEI sheets, or painter’s tape for better grip.
2. Adjust Your Heated Bed Temperature
An incorrectly set heated bed temperature can result in poor adhesion. Generally, a warmer bed helps the first layers stick well. Try increasing the bed temperature incrementally within your filament manufacturer’s recommended range. For instance:
- PLA: 50-60°C
- ABS: 90-110°C
- PETG: 70-85°C
- Nylon: 90-110°C
3. Level the Bed and Adjust Nozzle Height
Proper bed leveling and nozzle height adjustment are essential to achieving good adhesion. If the nozzle is too far away from the bed, the filament won’t stick adequately. Conversely, if it’s too close, it might scrape filament off entirely. Use your printer’s leveling tools or manually level it using a sheet of paper to ensure correct nozzle positioning.
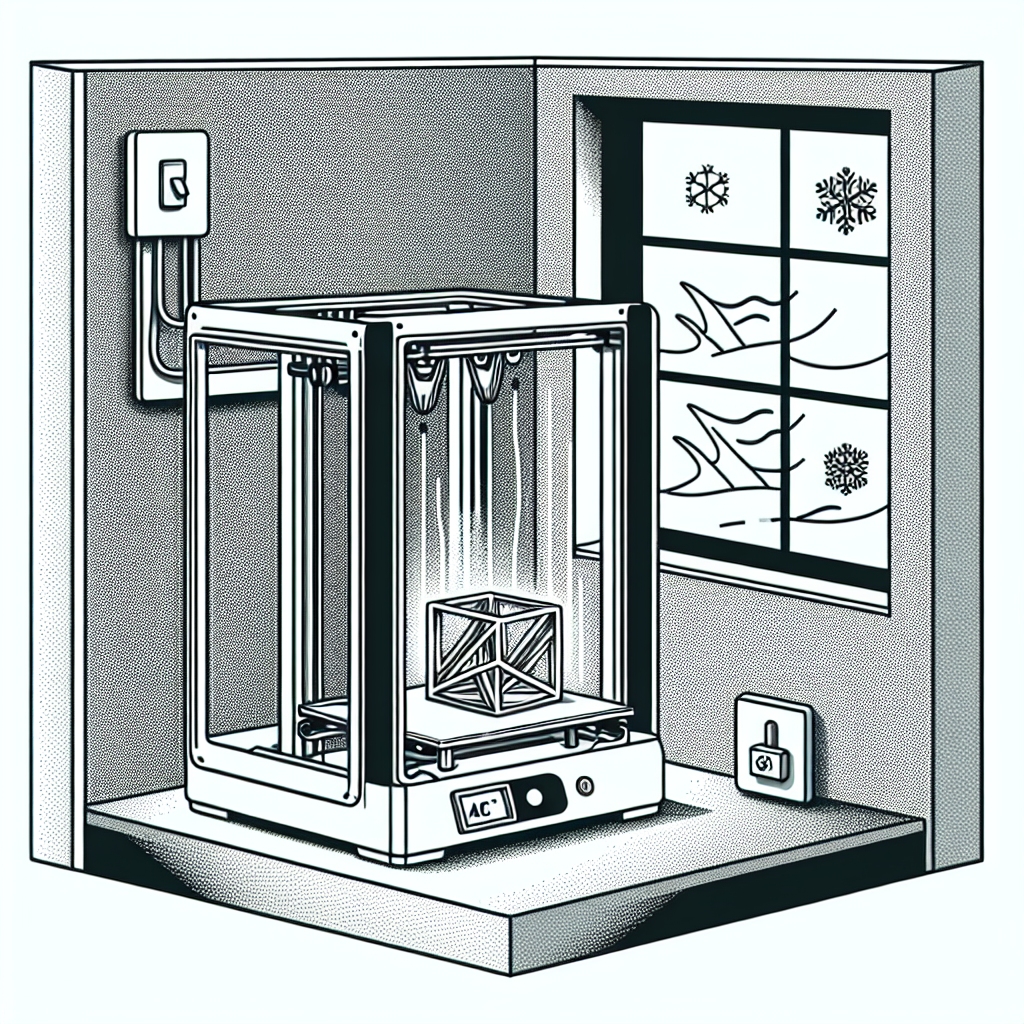
4. Control Ambient Temperature and Drafts
The ambient temperature around your printer significantly influences warping. Cold drafts or sudden temperature shifts cause uneven cooling. Here are some methods to stabilize the printing environment:
- Enclosed Printing Area: Using an enclosure helps maintain a stable ambient temperature, essential for high-warp materials.
- Minimize Drafts: Place your printer away from open windows, air conditioners, or fans to avoid uneven cooling.
5. Modify Your Print Settings
Print settings can dramatically influence warping. Consider the following adjustments:
- Brim or Raft: Adding a brim or raft to your model greatly increases the contact area between your print and the build plate, improving adhesion and reducing warping.
- Reduce Print Speed: Lowering the first-layer speed improves adhesion, allowing filament more time to adhere properly.
- Adjust Layer Height: Printing thicker first layers (0.2-0.3mm) increases surface area and enhances bed adhesion strength.
6. Use Appropriate Filament Types
If warping continues despite optimized settings, consider switching to a material less prone to warping. PLA, for example, tends to warp far less than ABS or Nylon. Alternatively, you can explore modified or composite filaments specifically engineered to reduce warping.
Conclusion
Warping can be challenging, but it’s a solvable issue when approached systematically. By improving bed adhesion, optimizing ambient conditions, adjusting printer settings, and choosing suitable materials, you can significantly reduce or eliminate warping in your 3D prints. Implementing these best practices will undoubtedly enhance the quality, accuracy, and reliability of your 3D printing projects!
Leave a Reply