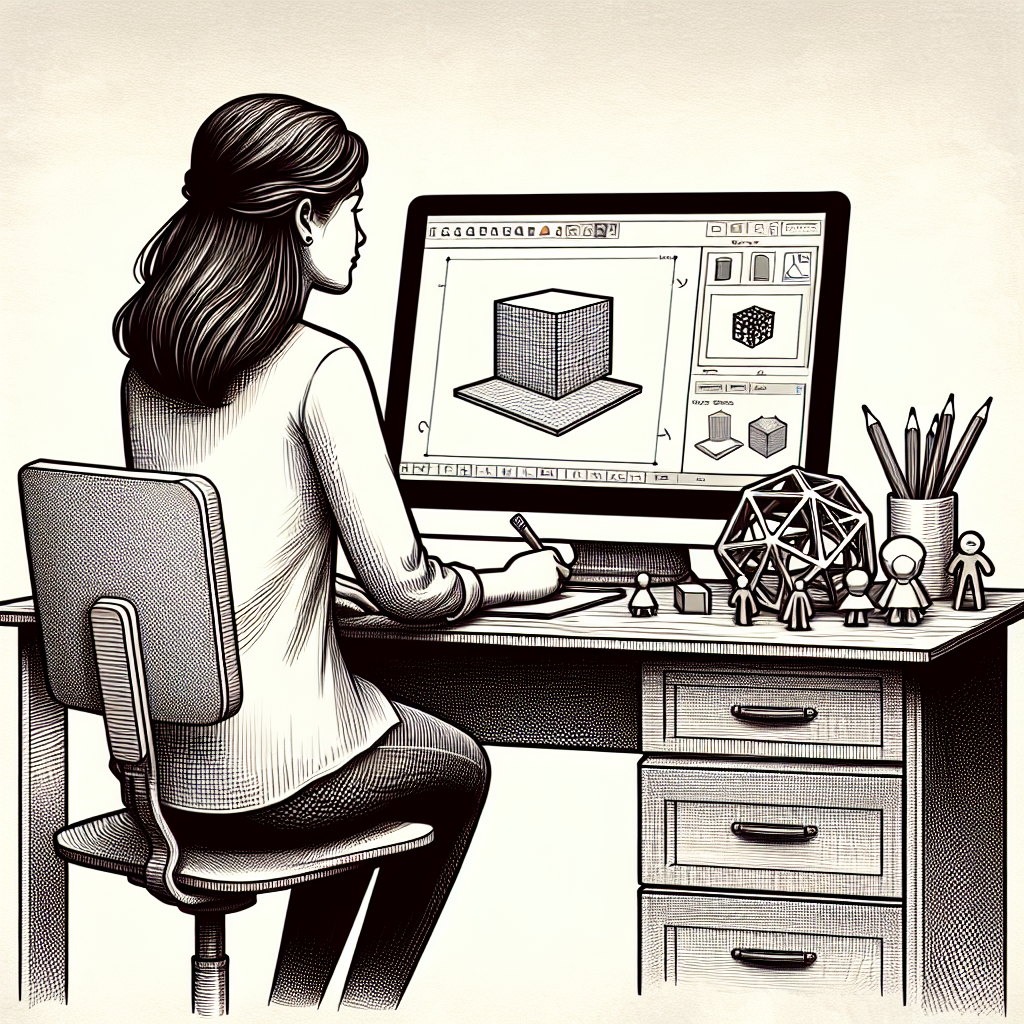
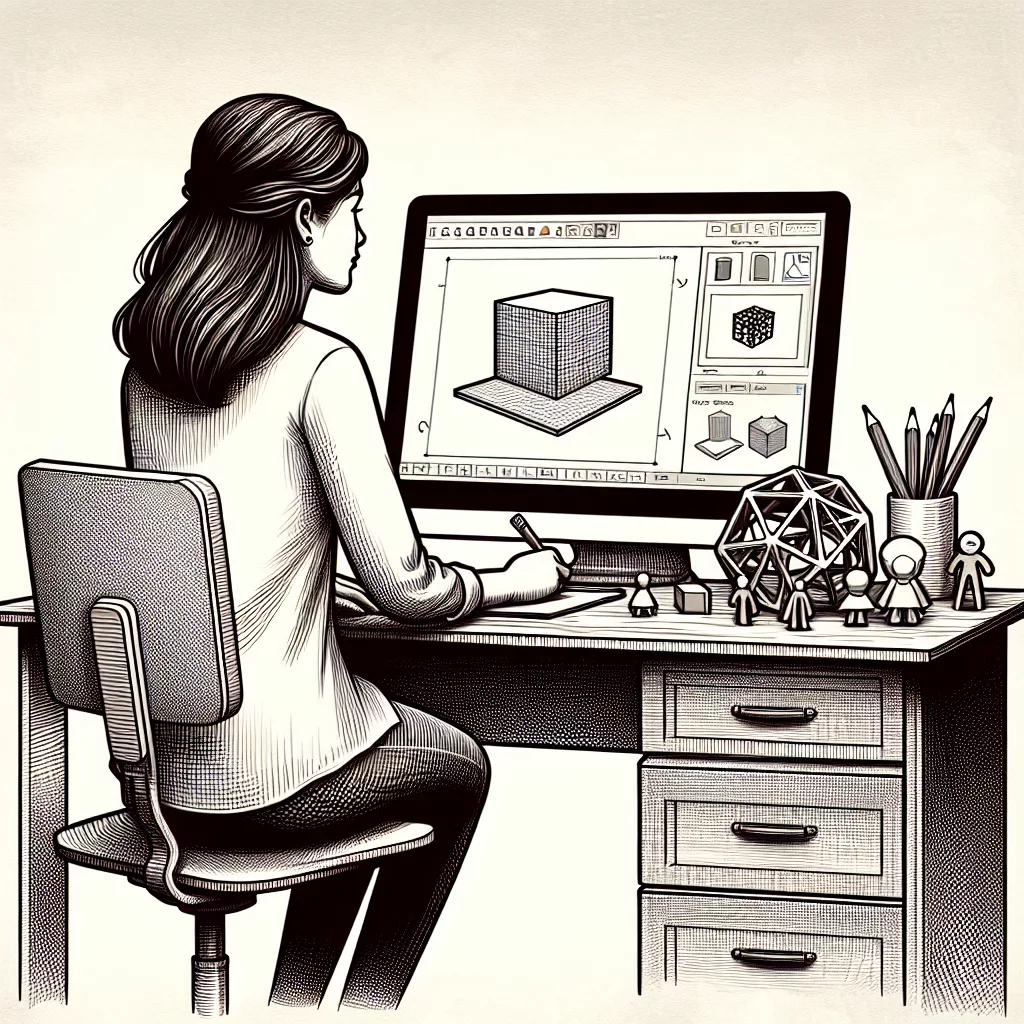
Introduction to Creating Your Own 3D Printable Models
Creating your own 3D printable models from scratch is an empowering skill that unlocks endless creativity and personalization within the hobby of 3D printing. Whether you want to design custom tools, household items, figurines, or complex prototypes, mastering the basics of creating digital models will significantly enhance your printing experience.
In this article, we’ll explore the step-by-step journey to designing your own 3D printable models, from initial sketches and concept development to choosing the right software and finalizing your designs for successful printing.
Step 1: Defining Your Concept and Sketching Ideas
Before jumping straight into digital modeling software, it’s essential to clearly outline your ideas. Start with paper and pencil or digital sketching tools to visualize your concept. Clearly defining your design purpose, dimensions, and functionality at this stage can avoid confusion and save you significant time later.
Ask yourself these questions:
- What is the intended use or function of your design?
- Are there size or scale constraints?
- Will your model require movable parts or special assembly considerations?
- What kind of material will you use for printing?
Step 2: Choosing the Right 3D Modeling Software
The software you choose to design your models has a huge impact on your workflow and the complexity of your final product. There are many options available, ranging from beginner-friendly programs to professional-grade platforms. Here are a few recommended options:
- TinkerCAD: Ideal for beginners and educational purposes, this free, web-based CAD tool offers intuitive drag-and-drop functionality.
- Fusion 360: Suitable for intermediate and advanced users, Fusion 360 is widely used due to its powerful parametric modeling features.
- Blender: Best for artistic modeling, Blender is open-source software ideal for complex and detailed organic shapes and sculpting.
- SketchUp: A good middle ground for hobbyists and DIY enthusiasts, SketchUp offers ease of use along with advanced functionality.
Step 3: Modeling Your 3D Design
Now that you’ve chosen your software, it’s time to turn your sketches into digital reality. Here’s how you can approach this step effectively:
- Start Simple: Begin by creating basic shapes, like cubes, cylinders, or spheres, and gradually refine them by adding or subtracting geometry.
- Master the Tools: Familiarize yourself with essential tools like extrude, bevel, mirror, boolean operations, and measuring tools to ensure accuracy and ease of modeling.
- Work in Layers: Break down complex items into simpler shapes, modeling each sub-component individually before assembling them into the final model.
- Check Dimensions Regularly: Always verify that the dimensions match your planned design to avoid misprints or scaling errors.
Step 4: Optimizing Your Model for 3D Printing
Designing for 3D printing requires special considerations. To achieve successful prints, your models should:
- Ensure Watertight Models: Ensure the model does not have any holes or open edges; otherwise, it won’t print correctly.
- Avoid Extreme Overhangs: Reduce or avoid steep overhangs and unsupported areas, which can cause print failures.
- Consider Layer Orientation: Align your model strategically to improve strength, reduce supports, and enhance the print’s surface finish.
- Check Wall Thickness: Maintain sufficient wall thickness to avoid structural weakness or print failures during the printing process.
Step 5: Exporting and Slicing Your Model
Once your model is complete, export it in a format suitable for slicing software, typically an STL or OBJ file. Open this file in your chosen slicing software, such as Cura, PrusaSlicer, or Simplify3D. In your slicer, you’ll:
- Set infill, supports, and layer height: Choose optimal settings to balance print times and strength requirements.
- Position the model correctly: Adjust your model’s orientation to minimize supports and improve surface details.
- Inspect the layers: Preview sliced layers to examine potential issues before printing.
Step 6: Test and Refine Your Model
3D printing design is an iterative process. Print your first prototype and examine it closely. Record any issues like improper tolerances or inaccuracies and return to your modeling software to make corrections. Repeat this step until you achieve a satisfying result.
Conclusion: Embracing the Creativity of 3D Design
Creating your own 3D printable models from scratch can seem intimidating at first, but with careful planning, proper software selection, and a methodical approach, you’ll quickly find it to be a rewarding endeavor. Consistent practice and experimentation will elevate your modeling skills, enabling you to bring your imaginative ideas to life through your printer.
Now, it’s your turn to start your journey into designing custom models—happy modeling and printing!


Leave a Reply