
Introduction to Multi-Color 3D Printing
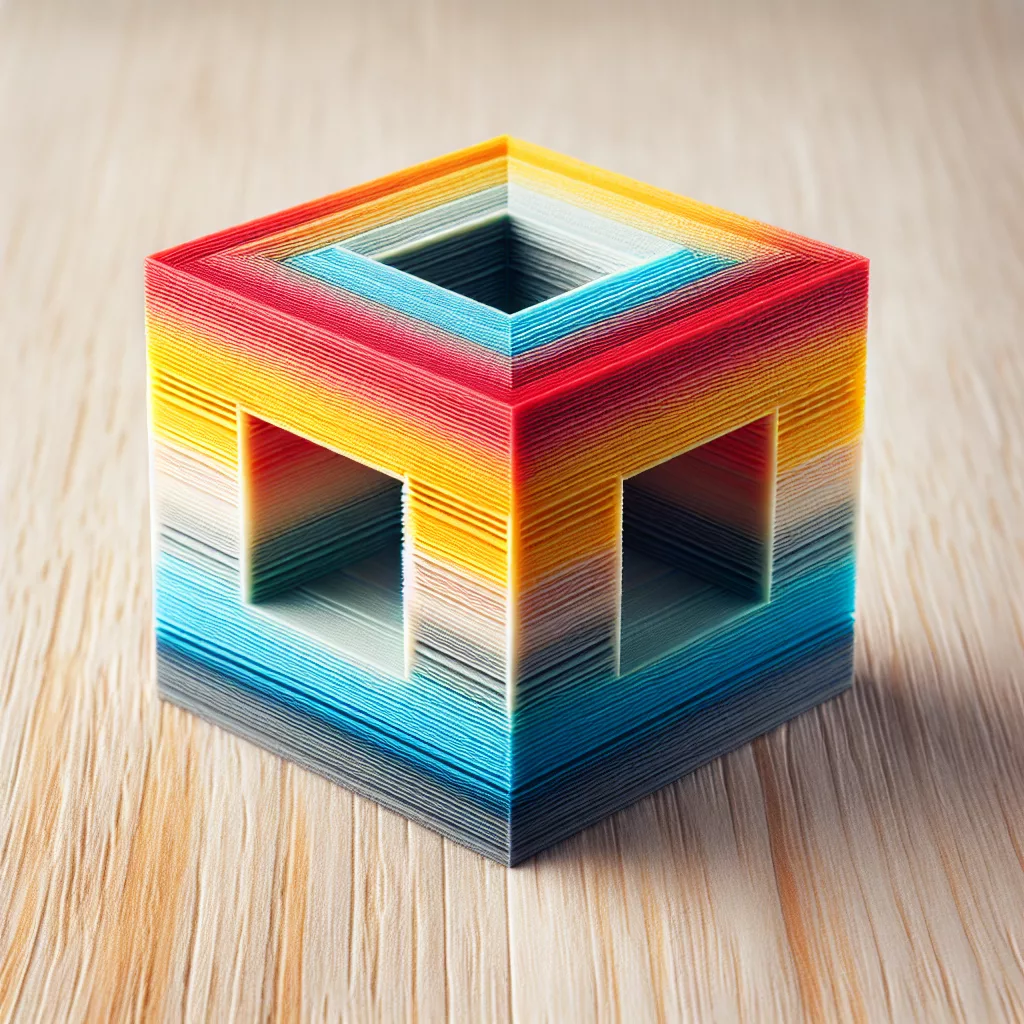
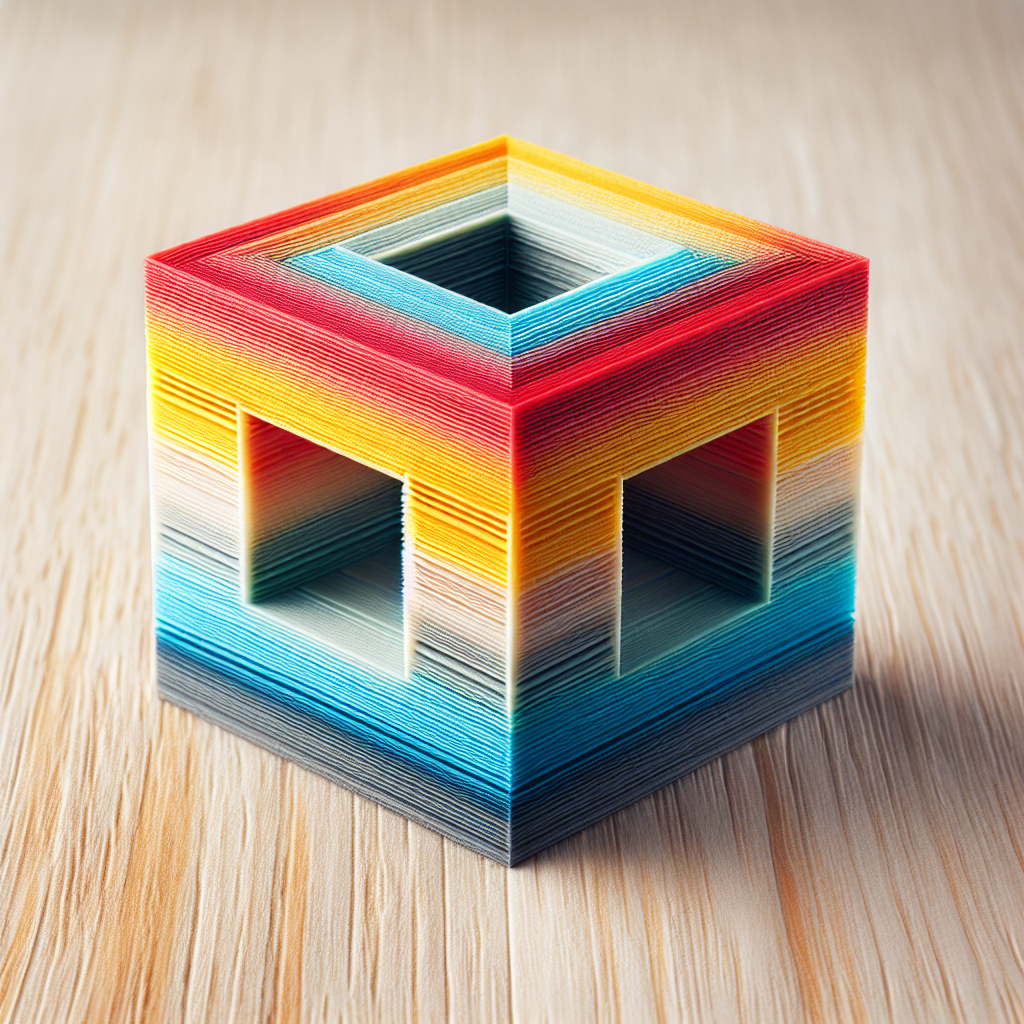
If you’re an enthusiast or hobbyist venturing into the exciting world of 3D printing, you may have already encountered stunning multi-colored prints. These vivid and dynamic models can seem challenging if you only have a printer with a single extruder. Thankfully, you don’t necessarily need a fancy multi-extruder setup to achieve impressive multi-colored 3D prints. In this guide, we’ll walk you through several tried-and-true techniques to bring vibrant, multi-colored prints to life using your standard single-extruder printer.
Method 1: Pausing and Switching Filaments Mid-Print
One of the simplest methods to produce multi-color prints with a single extruder involves manually pausing the printer at specific layers, swapping out filament, and resuming the printing process. Here’s how you can do it:
- Prepare Your Model in Slicing Software: Slice your model normally and carefully identify the layers where you wish to switch colors. Slicing software like Cura or PrusaSlicer allows you to insert pause commands at specific layers.
- Insert Pause Commands or Watch the Print: Most slicers have features allowing you to insert a pause command (M600 for Marlin firmware) at the chosen layer. Your printer will pause automatically at that moment, prompting you to swap filament.
- Switch Filaments: When the printer pauses, retract the current filament, insert the new color filament, and purge thoroughly to ensure color consistency.
- Resume Printing: Resume the print and allow your machine to continue printing with the new color. Repeat this technique as many times as needed for multiple color changes.
This method is straightforward and effective for clear, distinct color separations at different layer heights.
Method 2: Using Separate Parts and Assembly
Another excellent approach is to create multi-colored objects by printing separate parts in distinct colors and assembling them after printing. This method is beneficial for designs where distinct color divisions are clear.
- Designing Separate Parts: Use CAD software to separate your model into multiple individual parts, each intended for a different filament color.
- Slicing and Printing Individual Parts: Print each individual part separately using the appropriate colored filament.
- Assembly: Once all pieces are printed, carefully assemble and glue them together using adhesives or snap-fit joints designed into the model.
This method ensures high-quality, clean color transitions and allows you to use multiple colors easily—even complex color schemes.
Method 3: Filament Splicing and Using Gradient Filaments
If you want a seamless gradient or transition between colors, consider filament splicing or using rainbow filament.
- Filament Splicing: Using a filament joining tool or manually joining multiple filaments together, you can create multi-color filament strands. This allows for gradual color changes over your print’s layers.
- Gradient or Rainbow Filaments: Commercial gradient filaments come pre-loaded with smoothly transitioning colors. These filaments can create visually impressive color gradients without needing manual intervention or pauses.
This approach works best for artistic models or decorative prints where color transitions enhance visual appeal.
Method 4: Painting Your 3D Prints
Painting is an often overlooked yet highly effective method to produce multi-color models:
- Single-Color Printing: Print your model in a neutral filament color, ideally white or gray, to simplify painting.
- Surface Preparation: Lightly sand and prime your model, ensuring a smooth and paint-friendly surface.
- Painting Process: Apply acrylic paints, spray paints, or airbrush techniques to color your model precisely to your liking.
- Finishing Touches: Protect your painted model with a clear, durable coat to preserve your work.
This technique allows maximum artistic freedom and is ideal for detailed figurines or miniatures that benefit from intricate color patterns and shading.
Tips for Better Multi-Color Prints
- Plan Ahead: Clearly visualize your color scheme beforehand and plan your filament changes or part separations accordingly.
- Calibrate and Test: Conduct initial color-change tests to ensure your filament and printer handle transitions efficiently, preventing unexpected color mixing or poor adhesion.
- Quality Filament: Invest in quality filament brands that provide consistent color and reliable printing results.
Conclusion
Producing multi-color 3D models does not necessarily require costly multi-extruder hardware. With a bit of creativity, careful planning, and these tested methods, you can achieve vibrant and visually appealing multi-color 3D prints using your existing single-extruder printer. Whether you’re manually pausing prints, assembling separate colored parts, experimenting with filament gradients, or painting your models, the possibilities for multi-color creations are limited only by your imagination.
Leave a Reply