
Introduction to 3D Printing for Cosplay
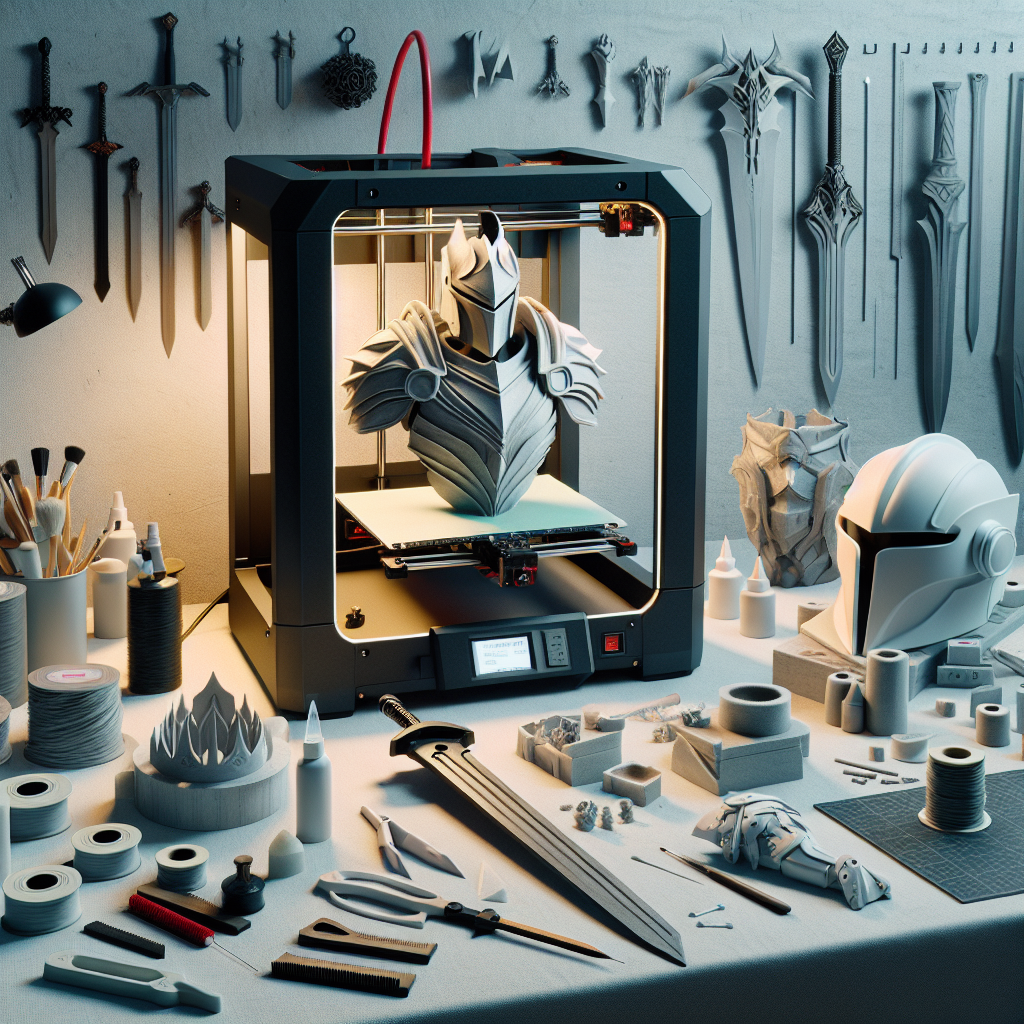
Cosplay has rapidly grown from a niche hobby into a global phenomenon, captivating fans across conventions and social media platforms. One of the most exciting developments within the cosplay community in recent years is the adoption of 3D printing. With the ability to produce incredibly accurate, detailed, and lightweight props and armor pieces, 3D printing technology has revolutionized costume making for enthusiasts everywhere. Whether you are a seasoned cosplayer or just starting out, this guide will help you navigate the exciting world of 3D printed cosplay pieces, from initial design to finished props ready for the spotlight.
Why Use 3D Printing for Cosplay Props and Armor?
Traditional cosplay prop-making methods often involve materials such as foam, thermoplastics, fiberglass, and even wood or aluminum. While each method has its merits, 3D printing offers significant advantages:
- Accuracy and Detail: 3D printing allows you to achieve intricate details and exact replicas of props and armor components, ensuring your cosplay stands out.
- Weight and Durability: Unlike heavy, uncomfortable armor or fragile props made through traditional methods, 3D printed items can be lightweight yet strong, especially when printed in materials like PETG or ABS.
- Customization Potential: 3D modeling software makes it easy to modify existing designs or create your own from scratch, allowing you to tailor each piece precisely to your measurements and creative vision.
- Efficiency and Repeatability: Once you’ve created or obtained a digital design, you can quickly print multiple copies or replacements, making repairs or upgrades hassle-free.
Selecting the Right 3D Printer and Materials for Cosplay
Choosing the right printer and filament material is essential for successful cosplay projects:
FDM Printers (Fused Deposition Modeling)
FDM printers are the most popular type of printer for cosplay due to their affordability and large build volumes. Popular entry-level models include the Creality Ender 3, Prusa i3 MK3S, and Artillery Sidewinder X1, all of which provide excellent print quality and reliability for cosplay pieces.
SLA Printers (Stereolithography)
Resin printers (SLA or MSLA) produce exceptionally high-detail prints ideal for smaller props, jewelry items, and intricate armor details. However, resin prints tend to be more brittle, heavier, and less suitable for larger armor pieces.
Choosing Filament for Cosplay Props
- PLA: Easy to print, affordable, and detailed, PLA is ideal for props used indoors or for display purposes.
- PETG: Durable, more heat-resistant than PLA, and slightly flexible, PETG is perfect for armor pieces that need to withstand wear-and-tear during long convention days.
- ABS: Strong and robust, ABS is an excellent choice for props and armor that may require sanding and painting; however, it requires proper ventilation due to fumes during printing.
- TPU: A flexible material suitable for wearable straps, joints, and pieces requiring elasticity and comfort.
Designing and Sourcing Cosplay Files
You don’t have to start your designs from scratch. Numerous resources exist online for finding cosplay-ready models:
- Thingiverse and MyMiniFactory: Large repositories with free, community-created cosplay and prop files.
- Cults3D and CGTrader: Specialized marketplaces where creators offer high-quality, detailed cosplay STL files for purchase.
- Patreon: Many talented cosplay designers offer exclusive files or subscription-based monthly releases.
If you prefer custom builds, use beginner-friendly software such as TinkerCAD, or advance to Blender, Fusion 360, or ZBrush for intricate modeling.
Post-Processing and Finishing Techniques
To achieve the best-looking props and armor, you’ll need to incorporate post-processing and finishing steps:
Sanding and Priming
Start by sanding your printed prop using progressively finer sandpapers (from 150-grit up to 800-grit or finer). This removes layer lines and helps achieve a smoother finish. After sanding, spray several coats of filler primer and wet-sand between coats to achieve an ultra-smooth surface.
Painting and Weathering
Use acrylic, enamel, or spray paints designed for plastics. For metallic finishes, automotive spray paints work exceptionally well. Weathering techniques (dry brushing, washes, and airbrushing) can add realism and depth to your armor or props, giving them the lived-in look of authentic gear from your favorite universe.
Assembly and Reinforcement
If your cosplay involves large armor pieces, joining separately printed segments is inevitable. Use strong adhesives such as epoxy or CA glue, and consider reinforcing joints internally with fiberglass cloth or resin coating if additional strength is required.
Safety Considerations
Remember to always prioritize your safety:
- Work in a well-ventilated area when sanding, painting, and working with glues and solvents.
- Wear gloves, safety glasses, and a respirator mask, especially when spraying paints and primers.
- Test-fitting printed armor and props carefully to adjust comfort, mobility, and avoid sharp edges.
Conclusion: Bring Your Cosplay Dreams to Life with 3D Printing
3D printing opens endless possibilities to create stunningly accurate, detailed, and durable cosplay props and armor. By carefully choosing your printer, materials, designs, and finishing techniques, you can elevate your cosplay game like never before. Embrace the technology to fuel your creativity, and amaze everyone at your next convention or event with your custom-made, professional-looking cosplay creations.
Leave a Reply